- Although I am using MMD, other software should be able to do the same. (After all, the post-processing is done by other software.)
- And thanks to https://www.youtube.com/watch?v=G1HTTO618Bk for the pre-teaching.
- This post is translated from https://barz.foo/2023/10/3dcg-%e5%ae%bd%e6%99%af%e5%9b%be%e5%b0%8f%e8%af%95/ with assistance of machine translation.
What are Panoramas?
A panorama (formed from Greek πᾶν “all” + ὅραμα “view”) is any wide-angle view or representation of a physical space, whether in painting, drawing, photography, film, seismic images, or 3D modeling. The word was coined in the 18th century by the English (Irish descent) painter Robert Barker to describe his panoramic paintings of Edinburgh and London. The motion-picture term panning is derived from panorama.
A panoramic view is also purposed for multimedia, cross-scale applications to an outline overview (from a distance) along and across repositories. This so-called “cognitive panorama” is a panoramic view over, and a combination of, cognitive spaces used to capture the larger scale.
— refered from https://en.wikipedia.org/wiki/Panorama .
Steps for taking and compositing a wide/panoramic photo
Although this time we are going to use 3D software to composite a wide-view photo, and the steps are summarized by GPT, it might be helpful to have a process for taking photos in the field?
- Choose a location: Choose a location where you want to shoot, preferably one with a wide open view.
- Prepare equipment: you need a camera or cell phone with a panoramic mode. If you don’t have one, you can take a series of photos and then use software to synthesize the panoramic photos.
- Shooting: Stand in a fixed position and move the camera or cell phone smoothly from one direction to another. Make sure that each photo is partially overlapped with the previous one, so that it will be more natural and coherent when compositing the panoramic photo.
- Compositing panoramic photos: Import the photos you’ve taken into your computer, then use panoramic photo compositing software such as Photoshop, Lightroom, Microsoft ICE, etc. to combine them into one panoramic photo. These software usually have automatic alignment and blending functions, which can help you easily finish the panoramic photo compositing.
- Adjustment and optimization: Finally, you can adjust and optimize the panoramic photo, such as adjusting brightness, contrast, color, etc. to make the panoramic photo more perfect.
Create a vertical wide view with MMD
So the next step is to actually do it once.
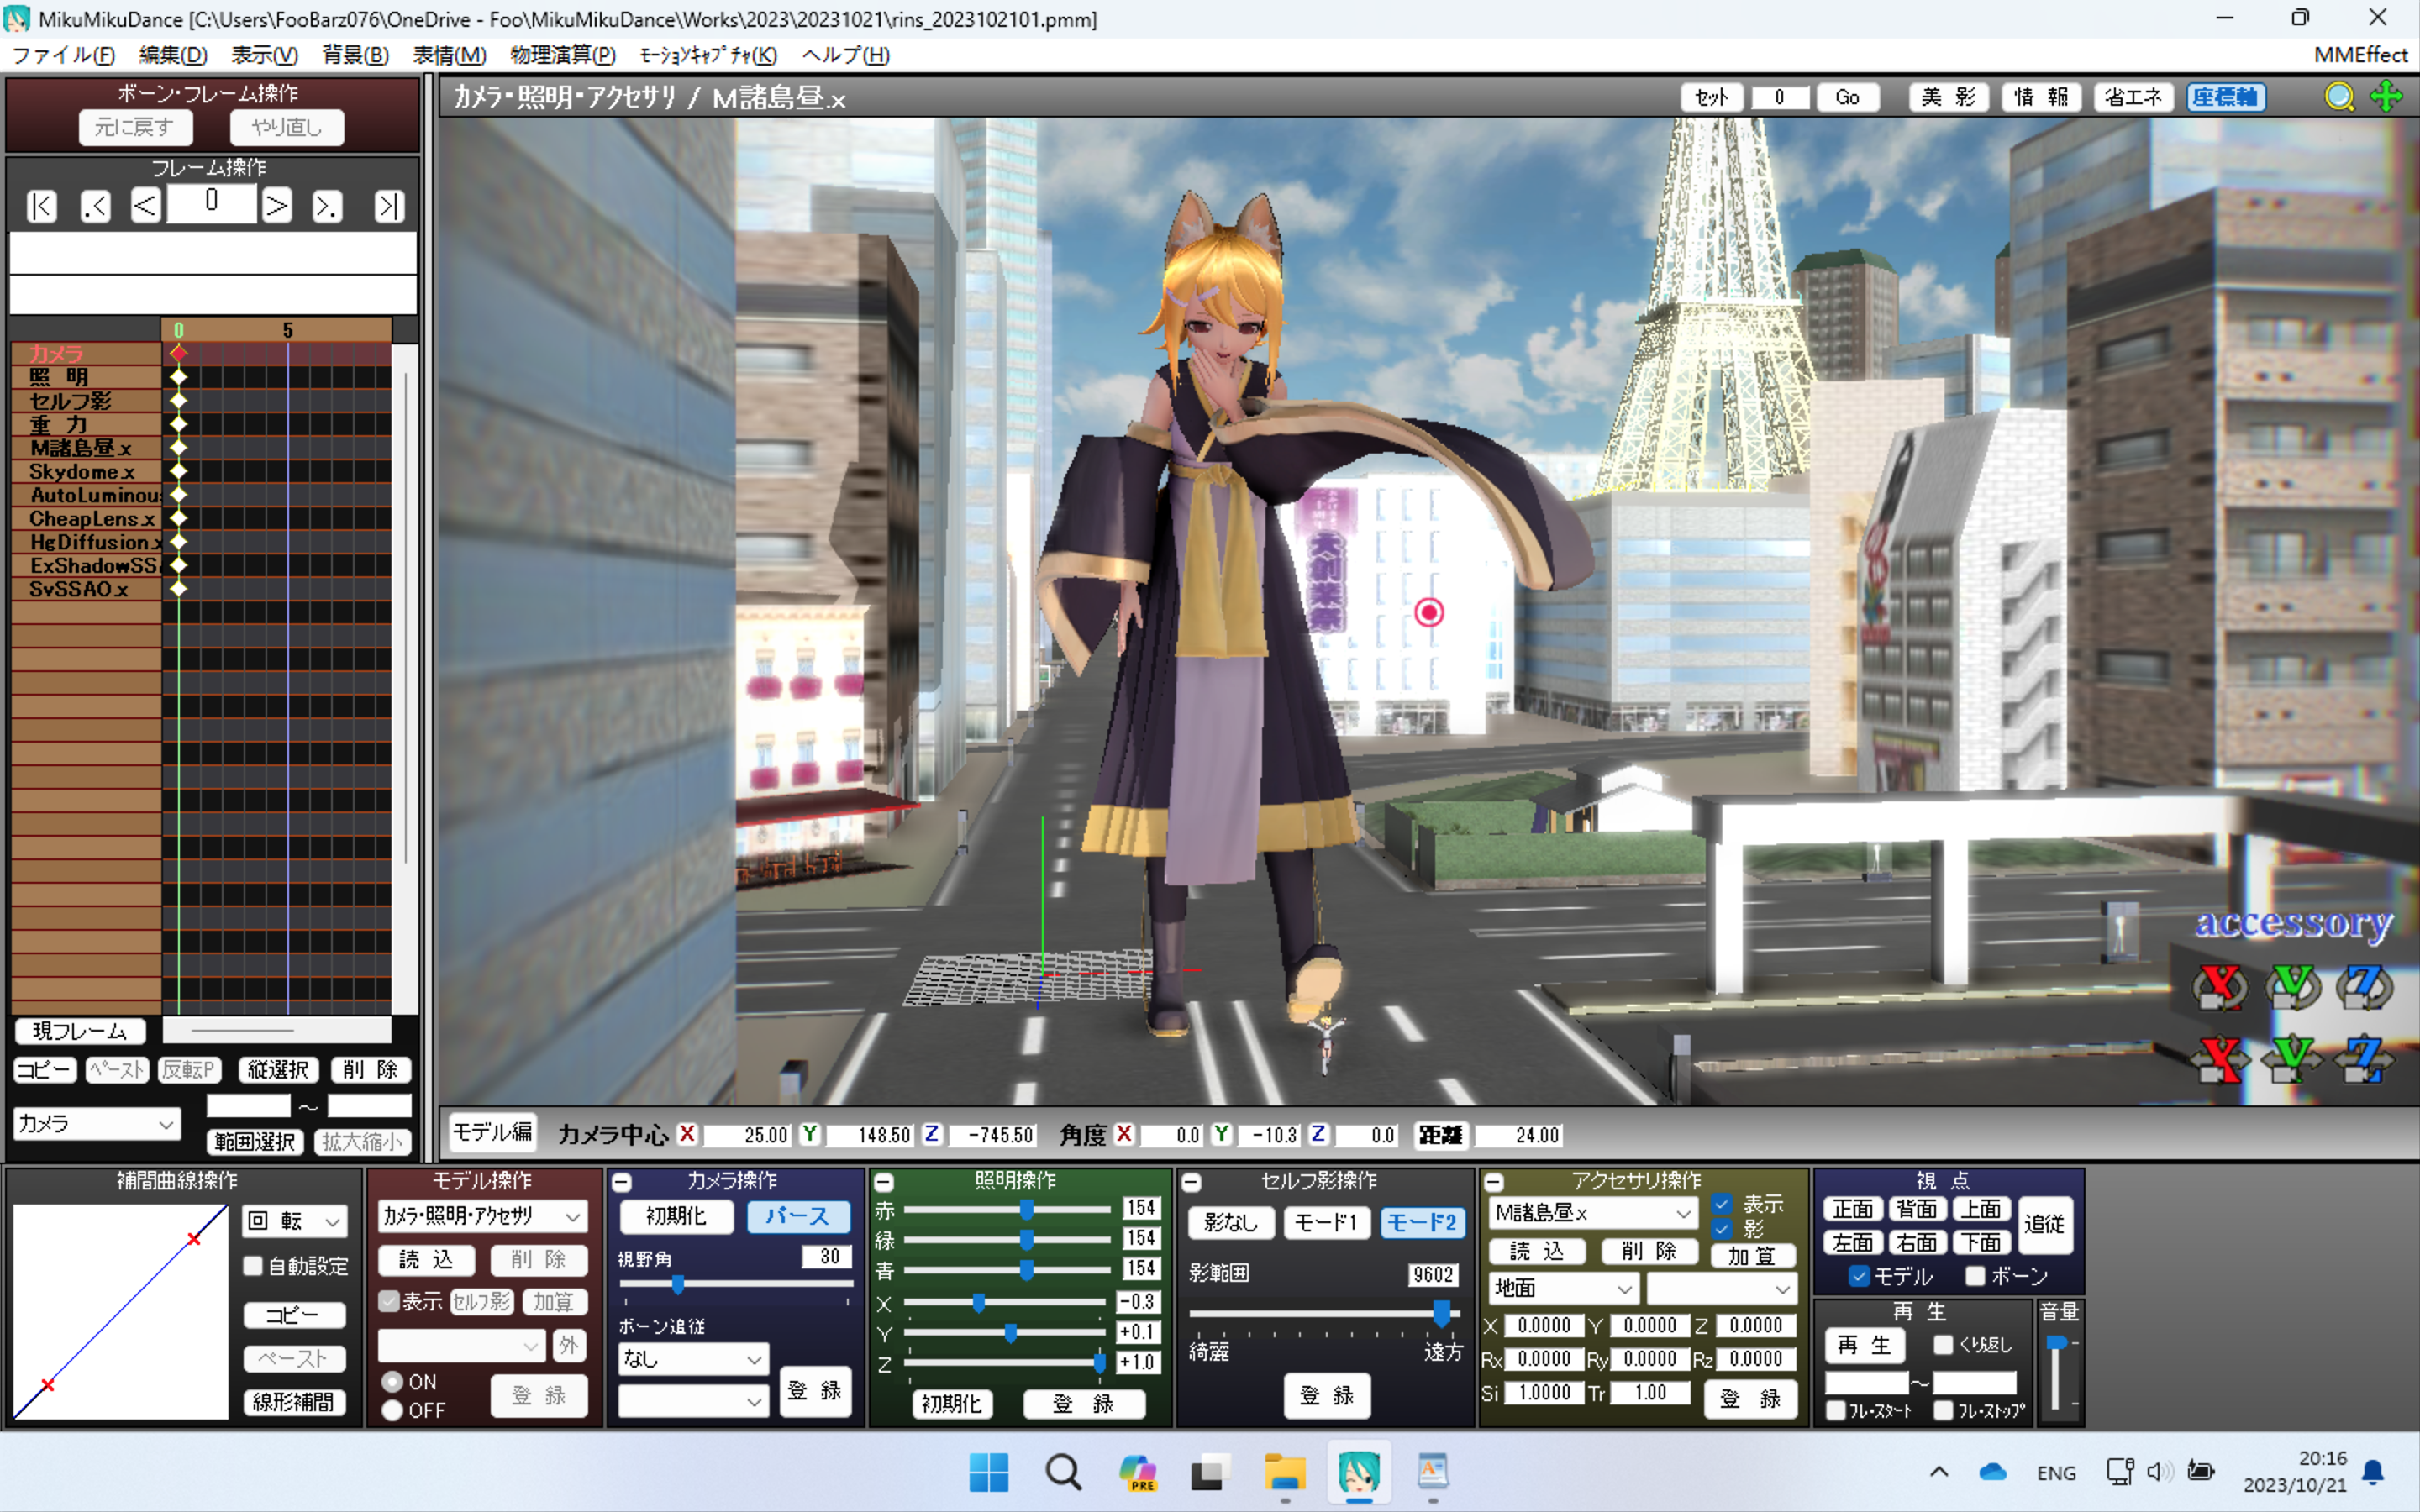
- Of course the first thing to do is to set up the scene.
Generating intermediate images for compositing
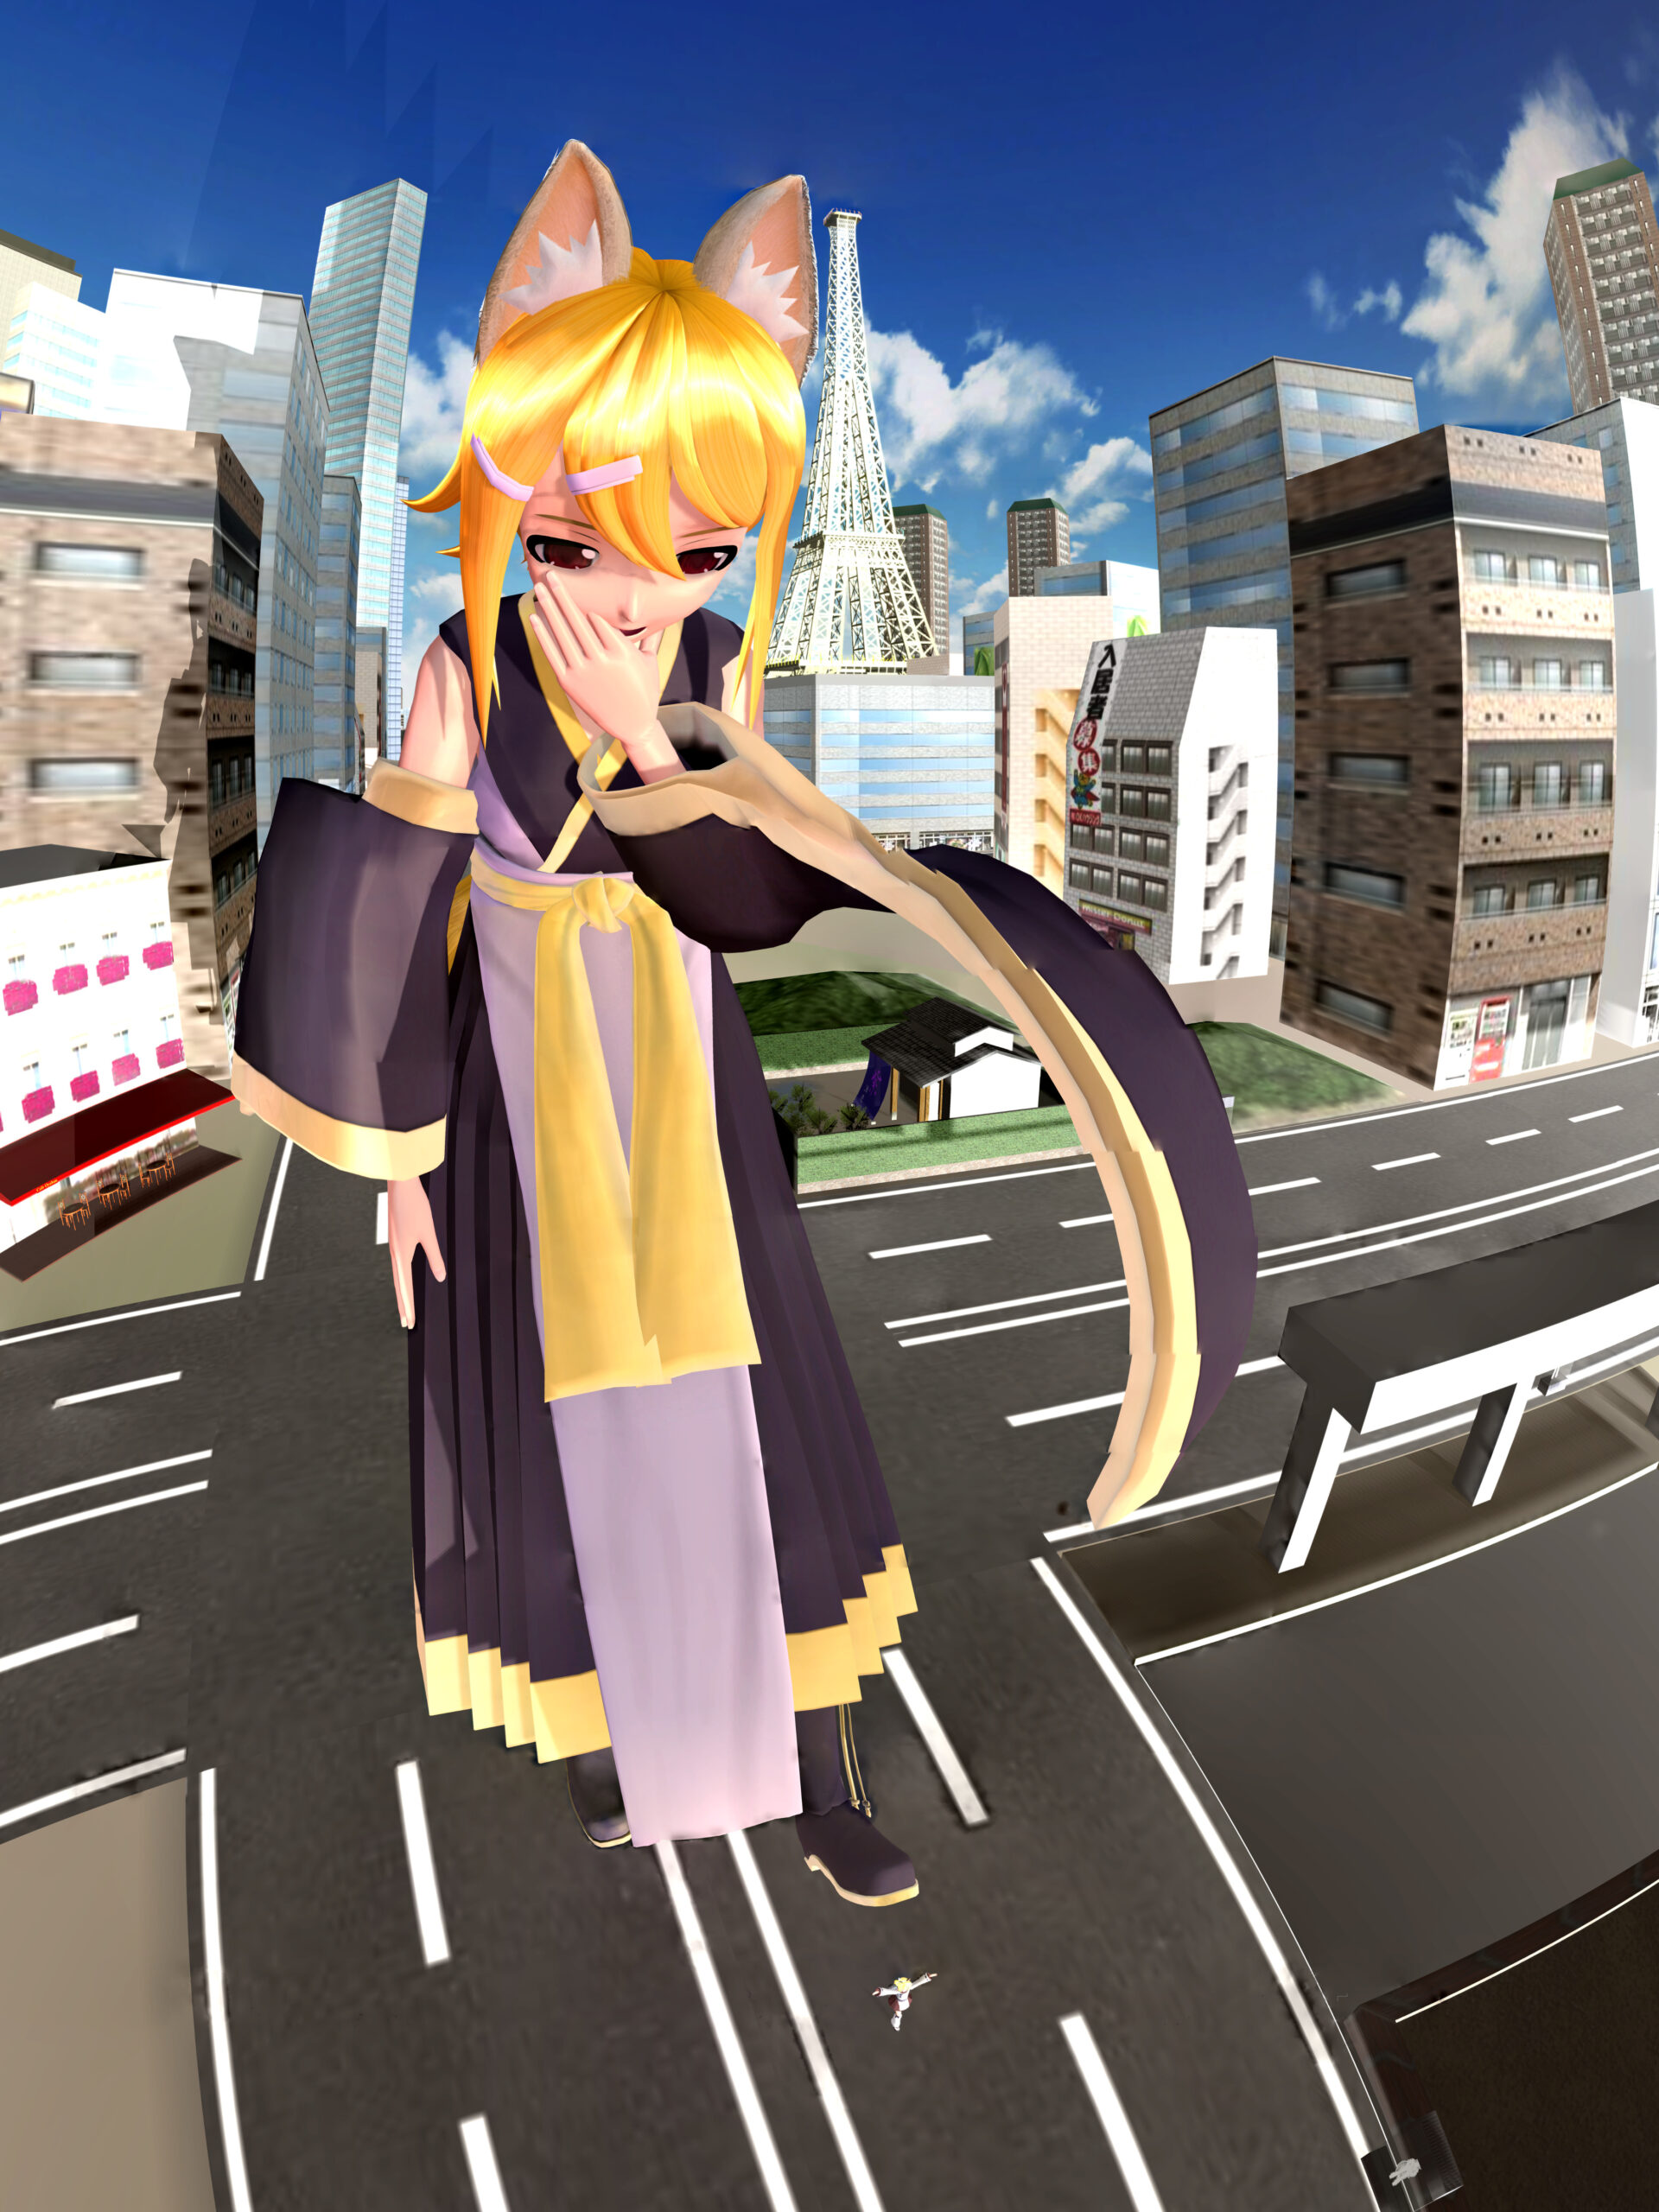
- Next, choose a starting position as you would for a panoramic photo.
- For example, bottom, center, and top.
- Just as the distortion will be greater the farther away from the top and bottom of the horizon in the frame when combining panoramic photos, the farther away from the starting point the smaller it will be in the combined image. You may want to keep the subject in the center of the frame as much as possible.
- Reducing the horizon angle appropriately will also help mitigate distortion, but perhaps increase the number of intermediate images and extend the time needed for post-processing.
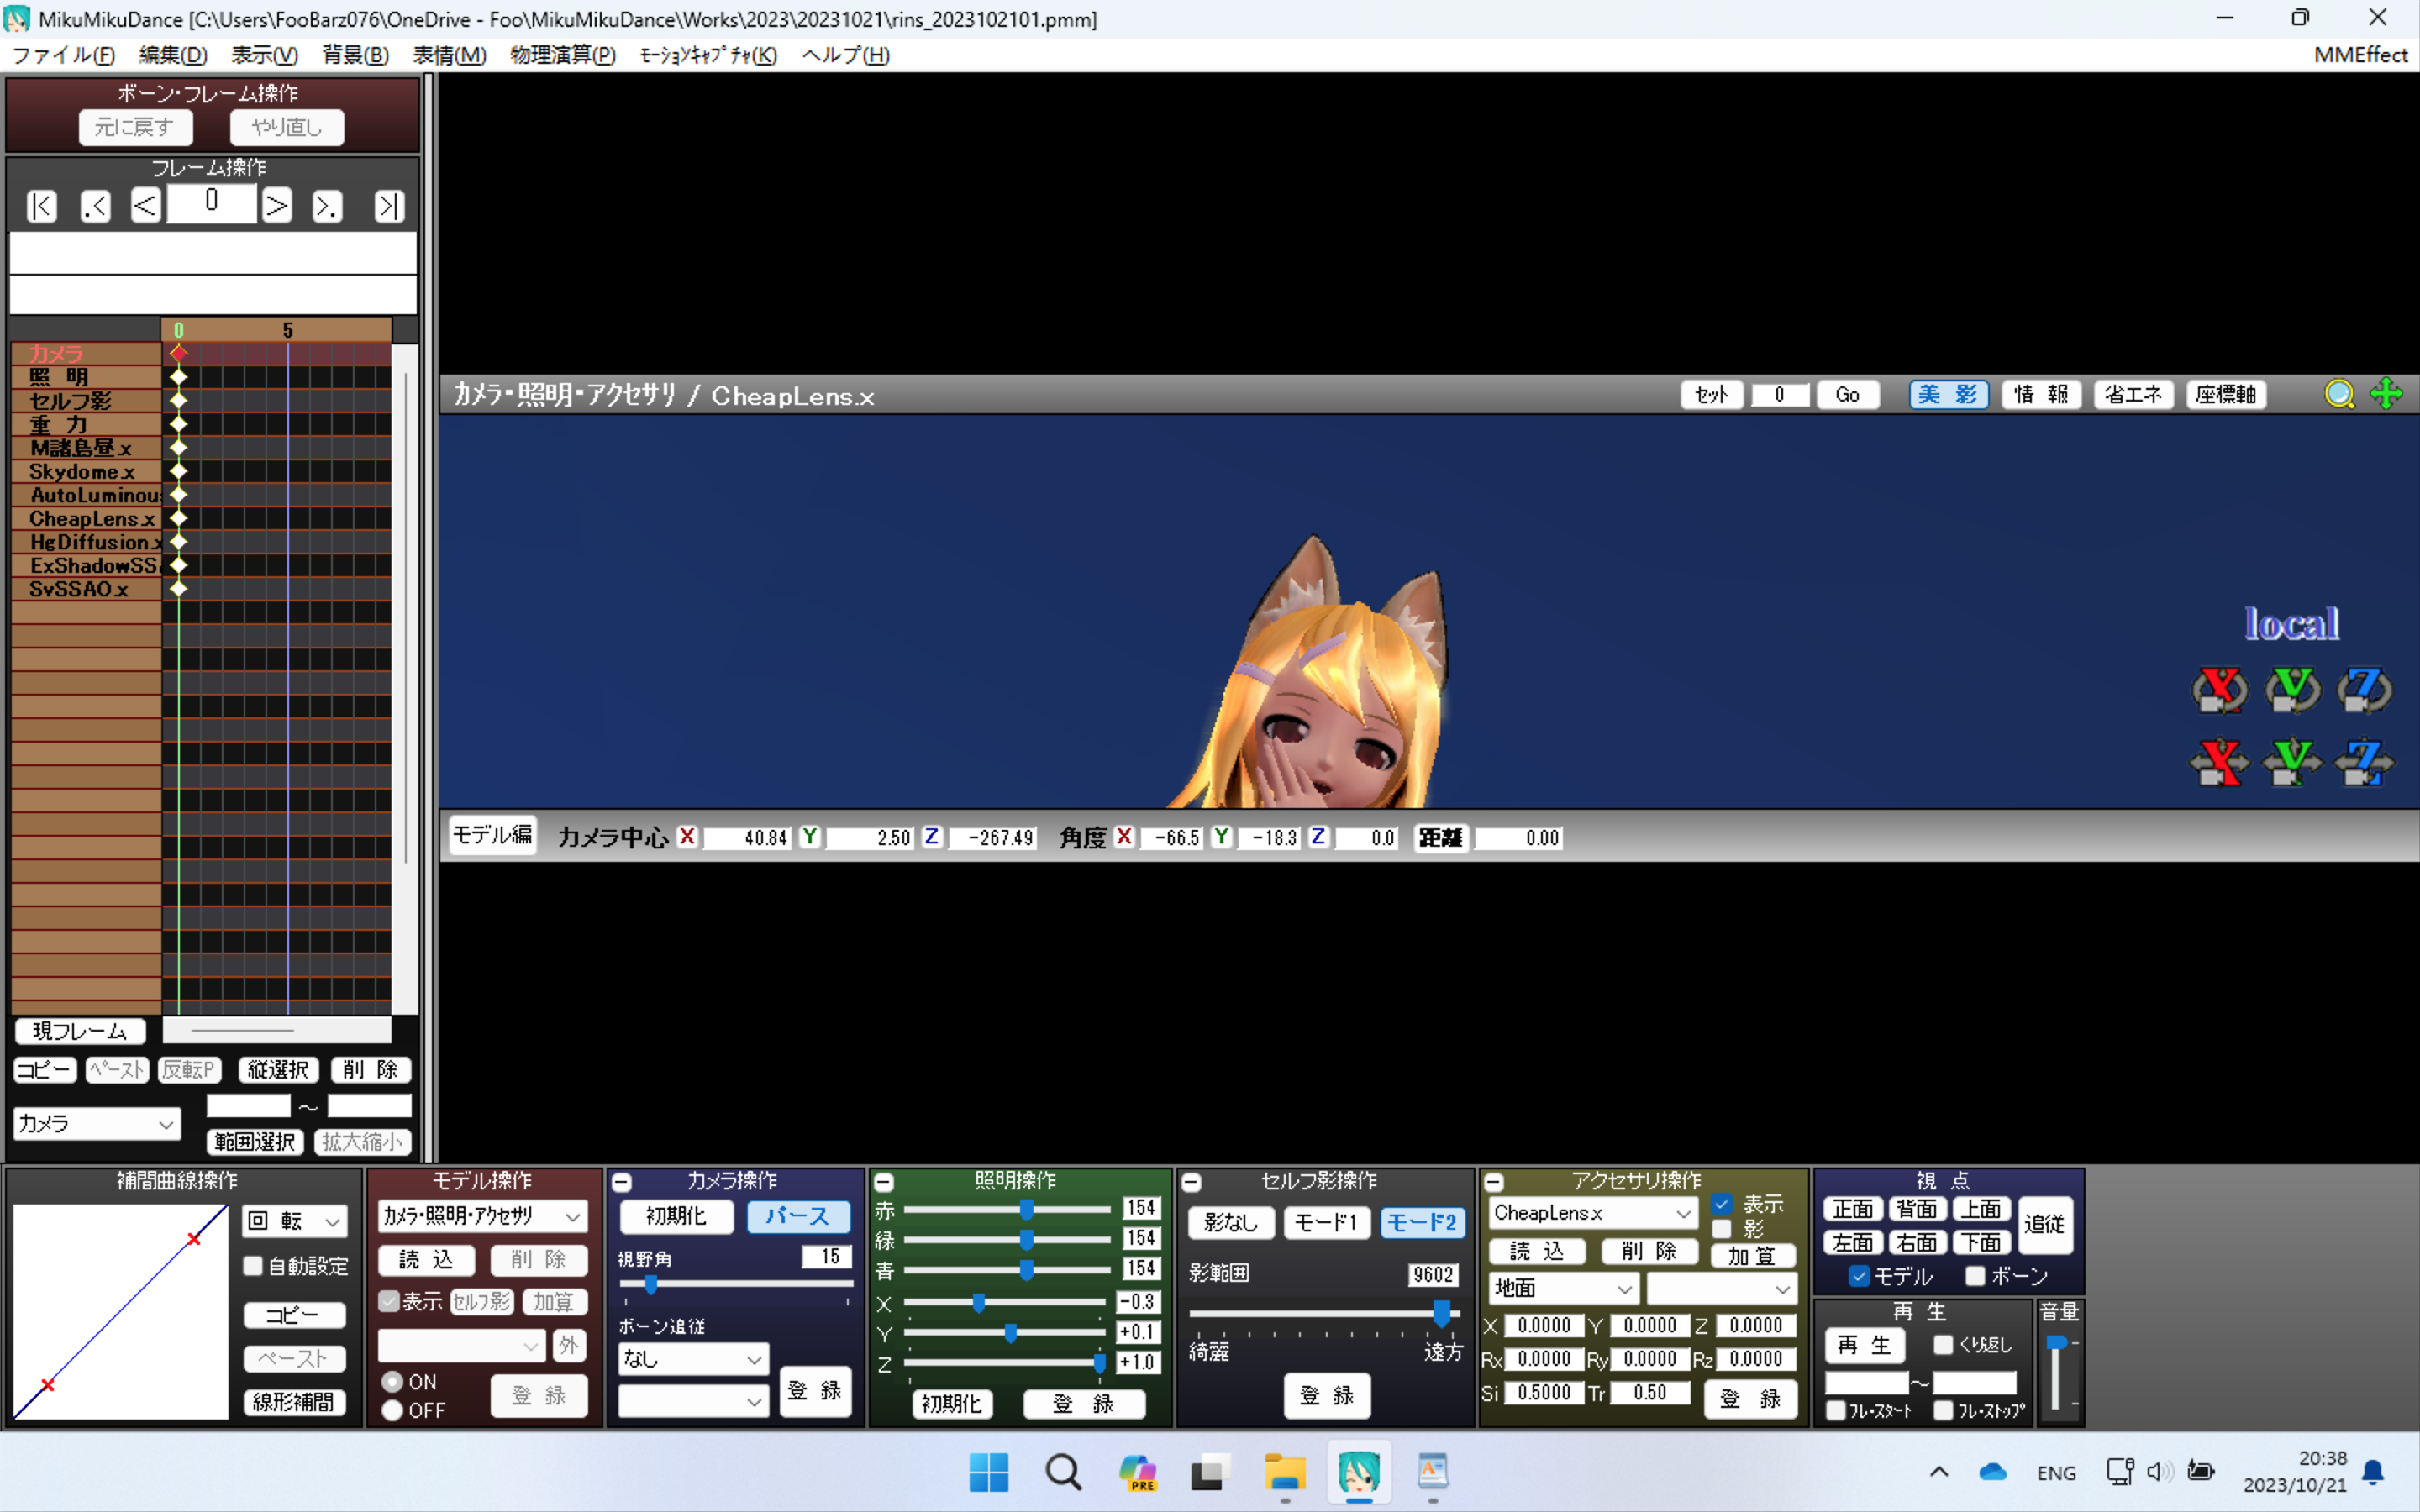
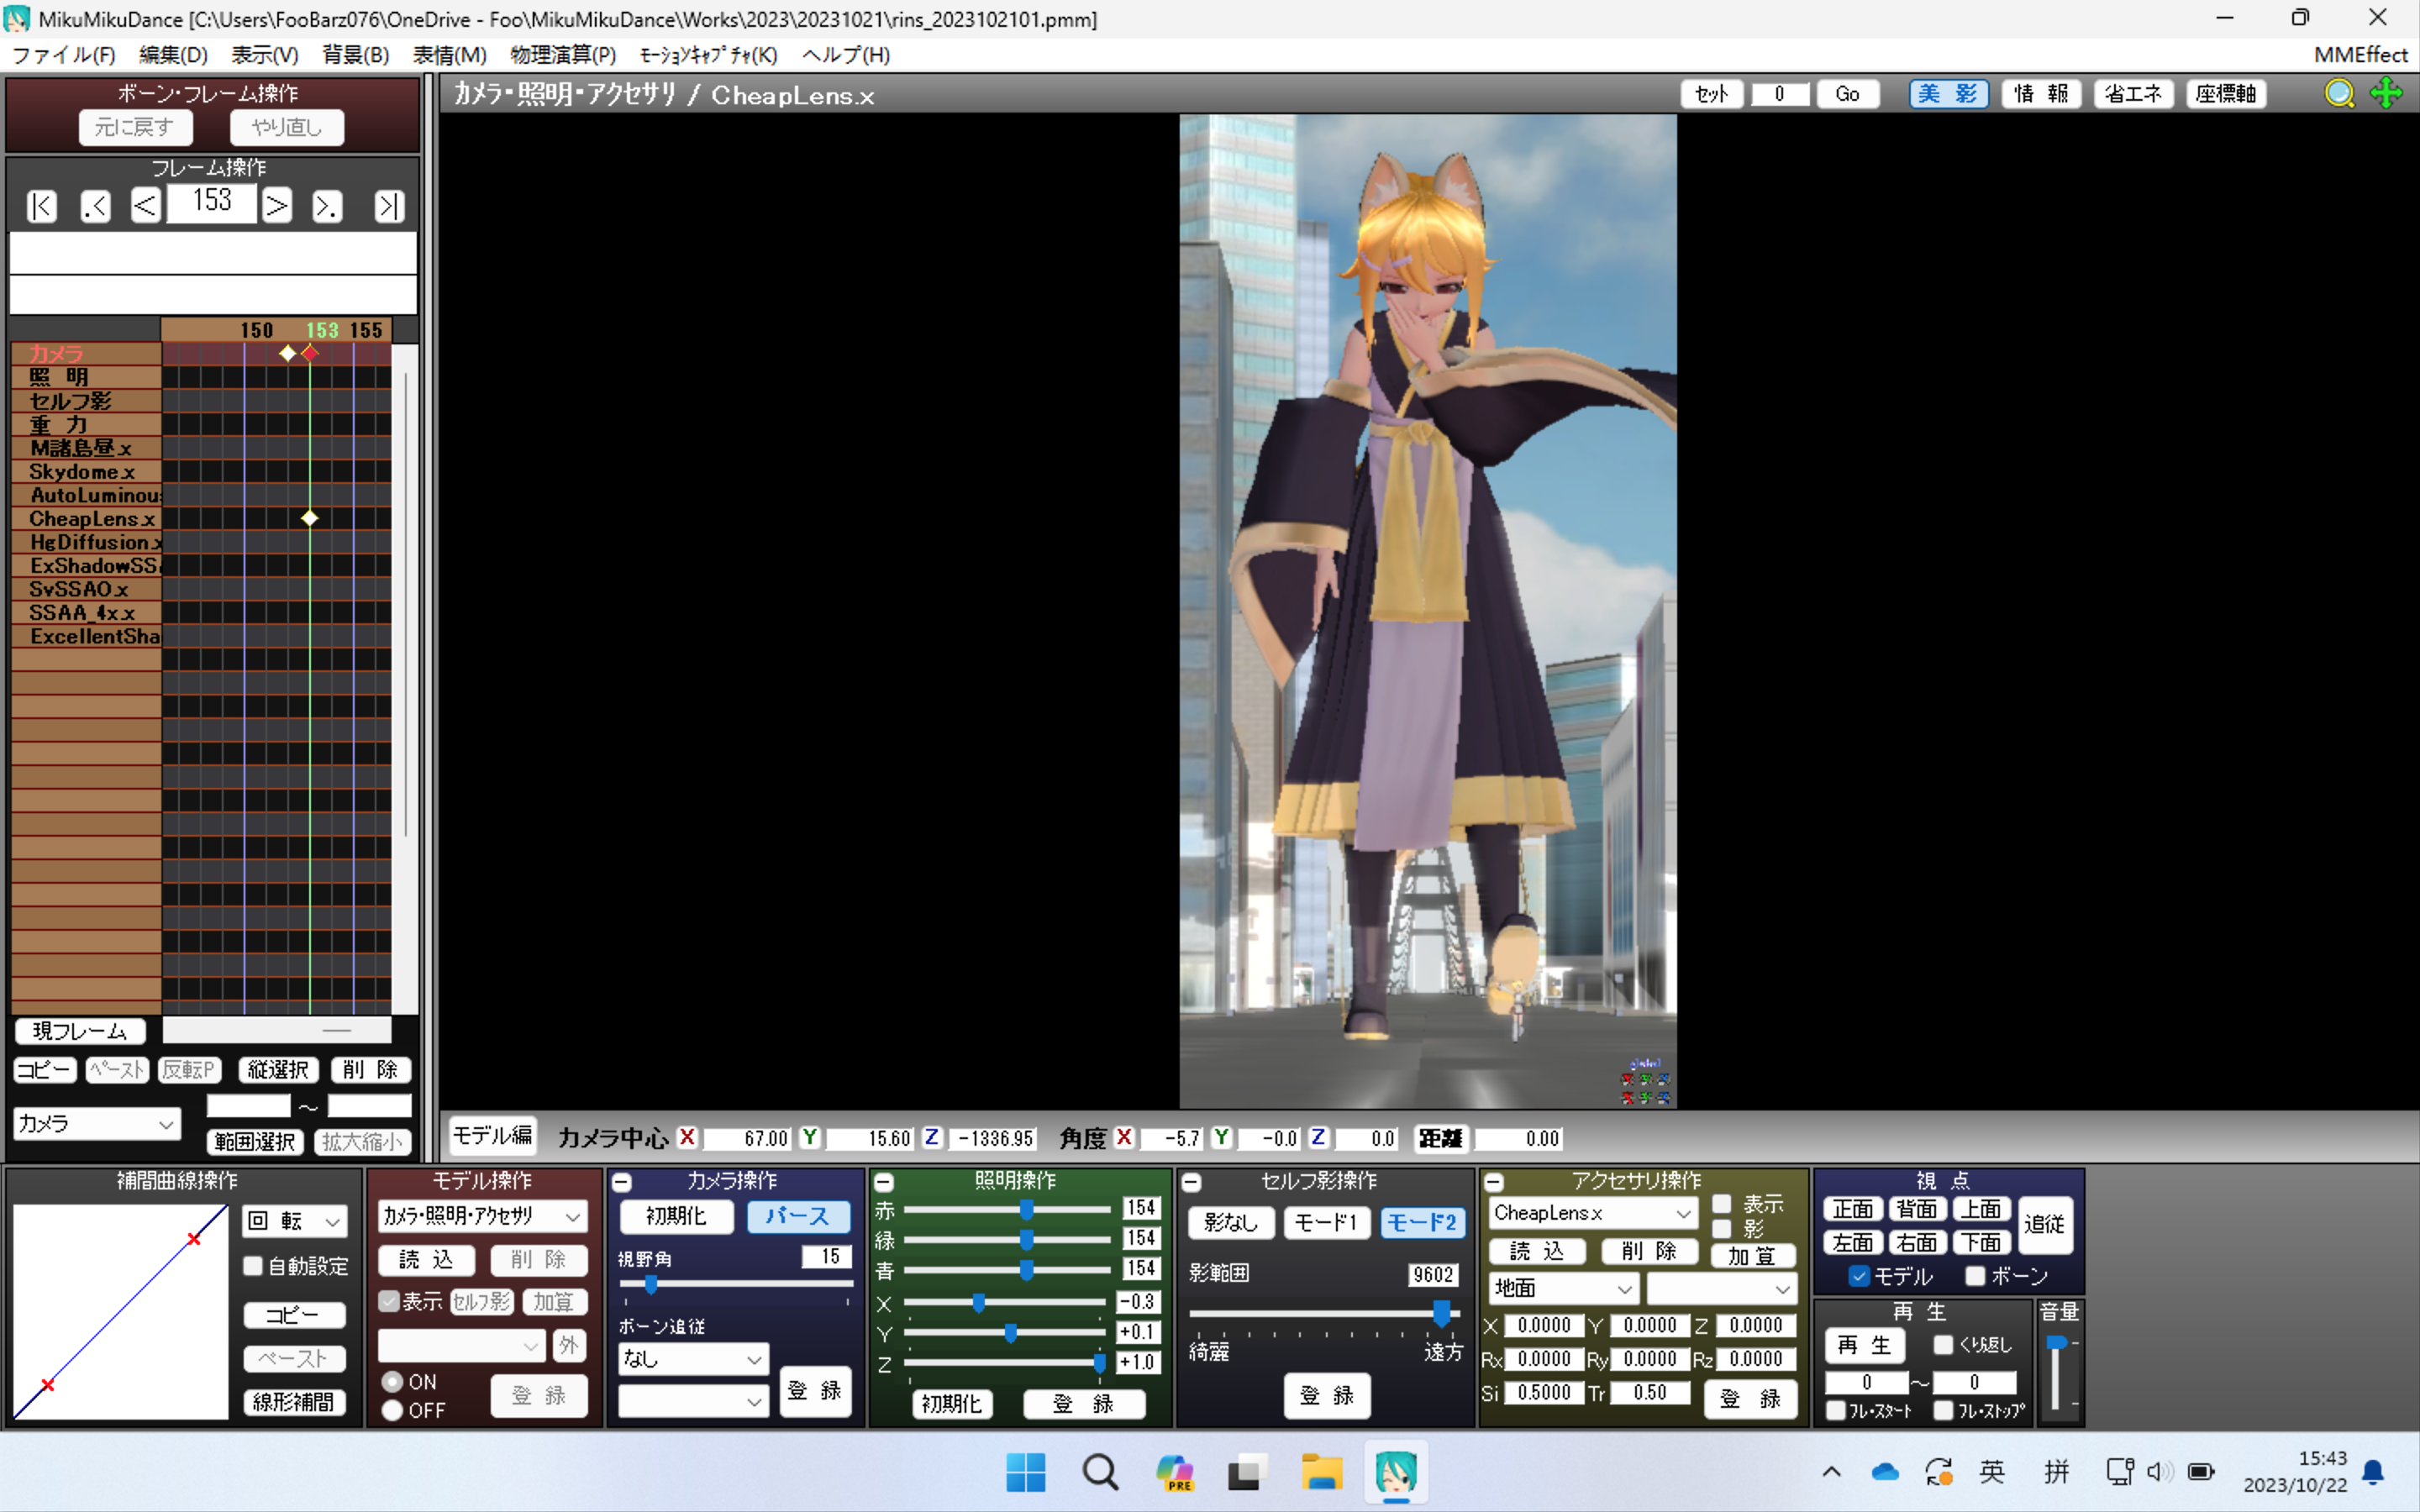
- The distance should be 0. Other distance settings may have unintended effects.
- You can also adjust the output resolution if needed.
- Of course the larger the intermediate image you want to output, the more memory and graphics memory you need 🥲
- Adjusting the resolution also adjusts the field of view, you should probably select the starting point after setting the output resolution.

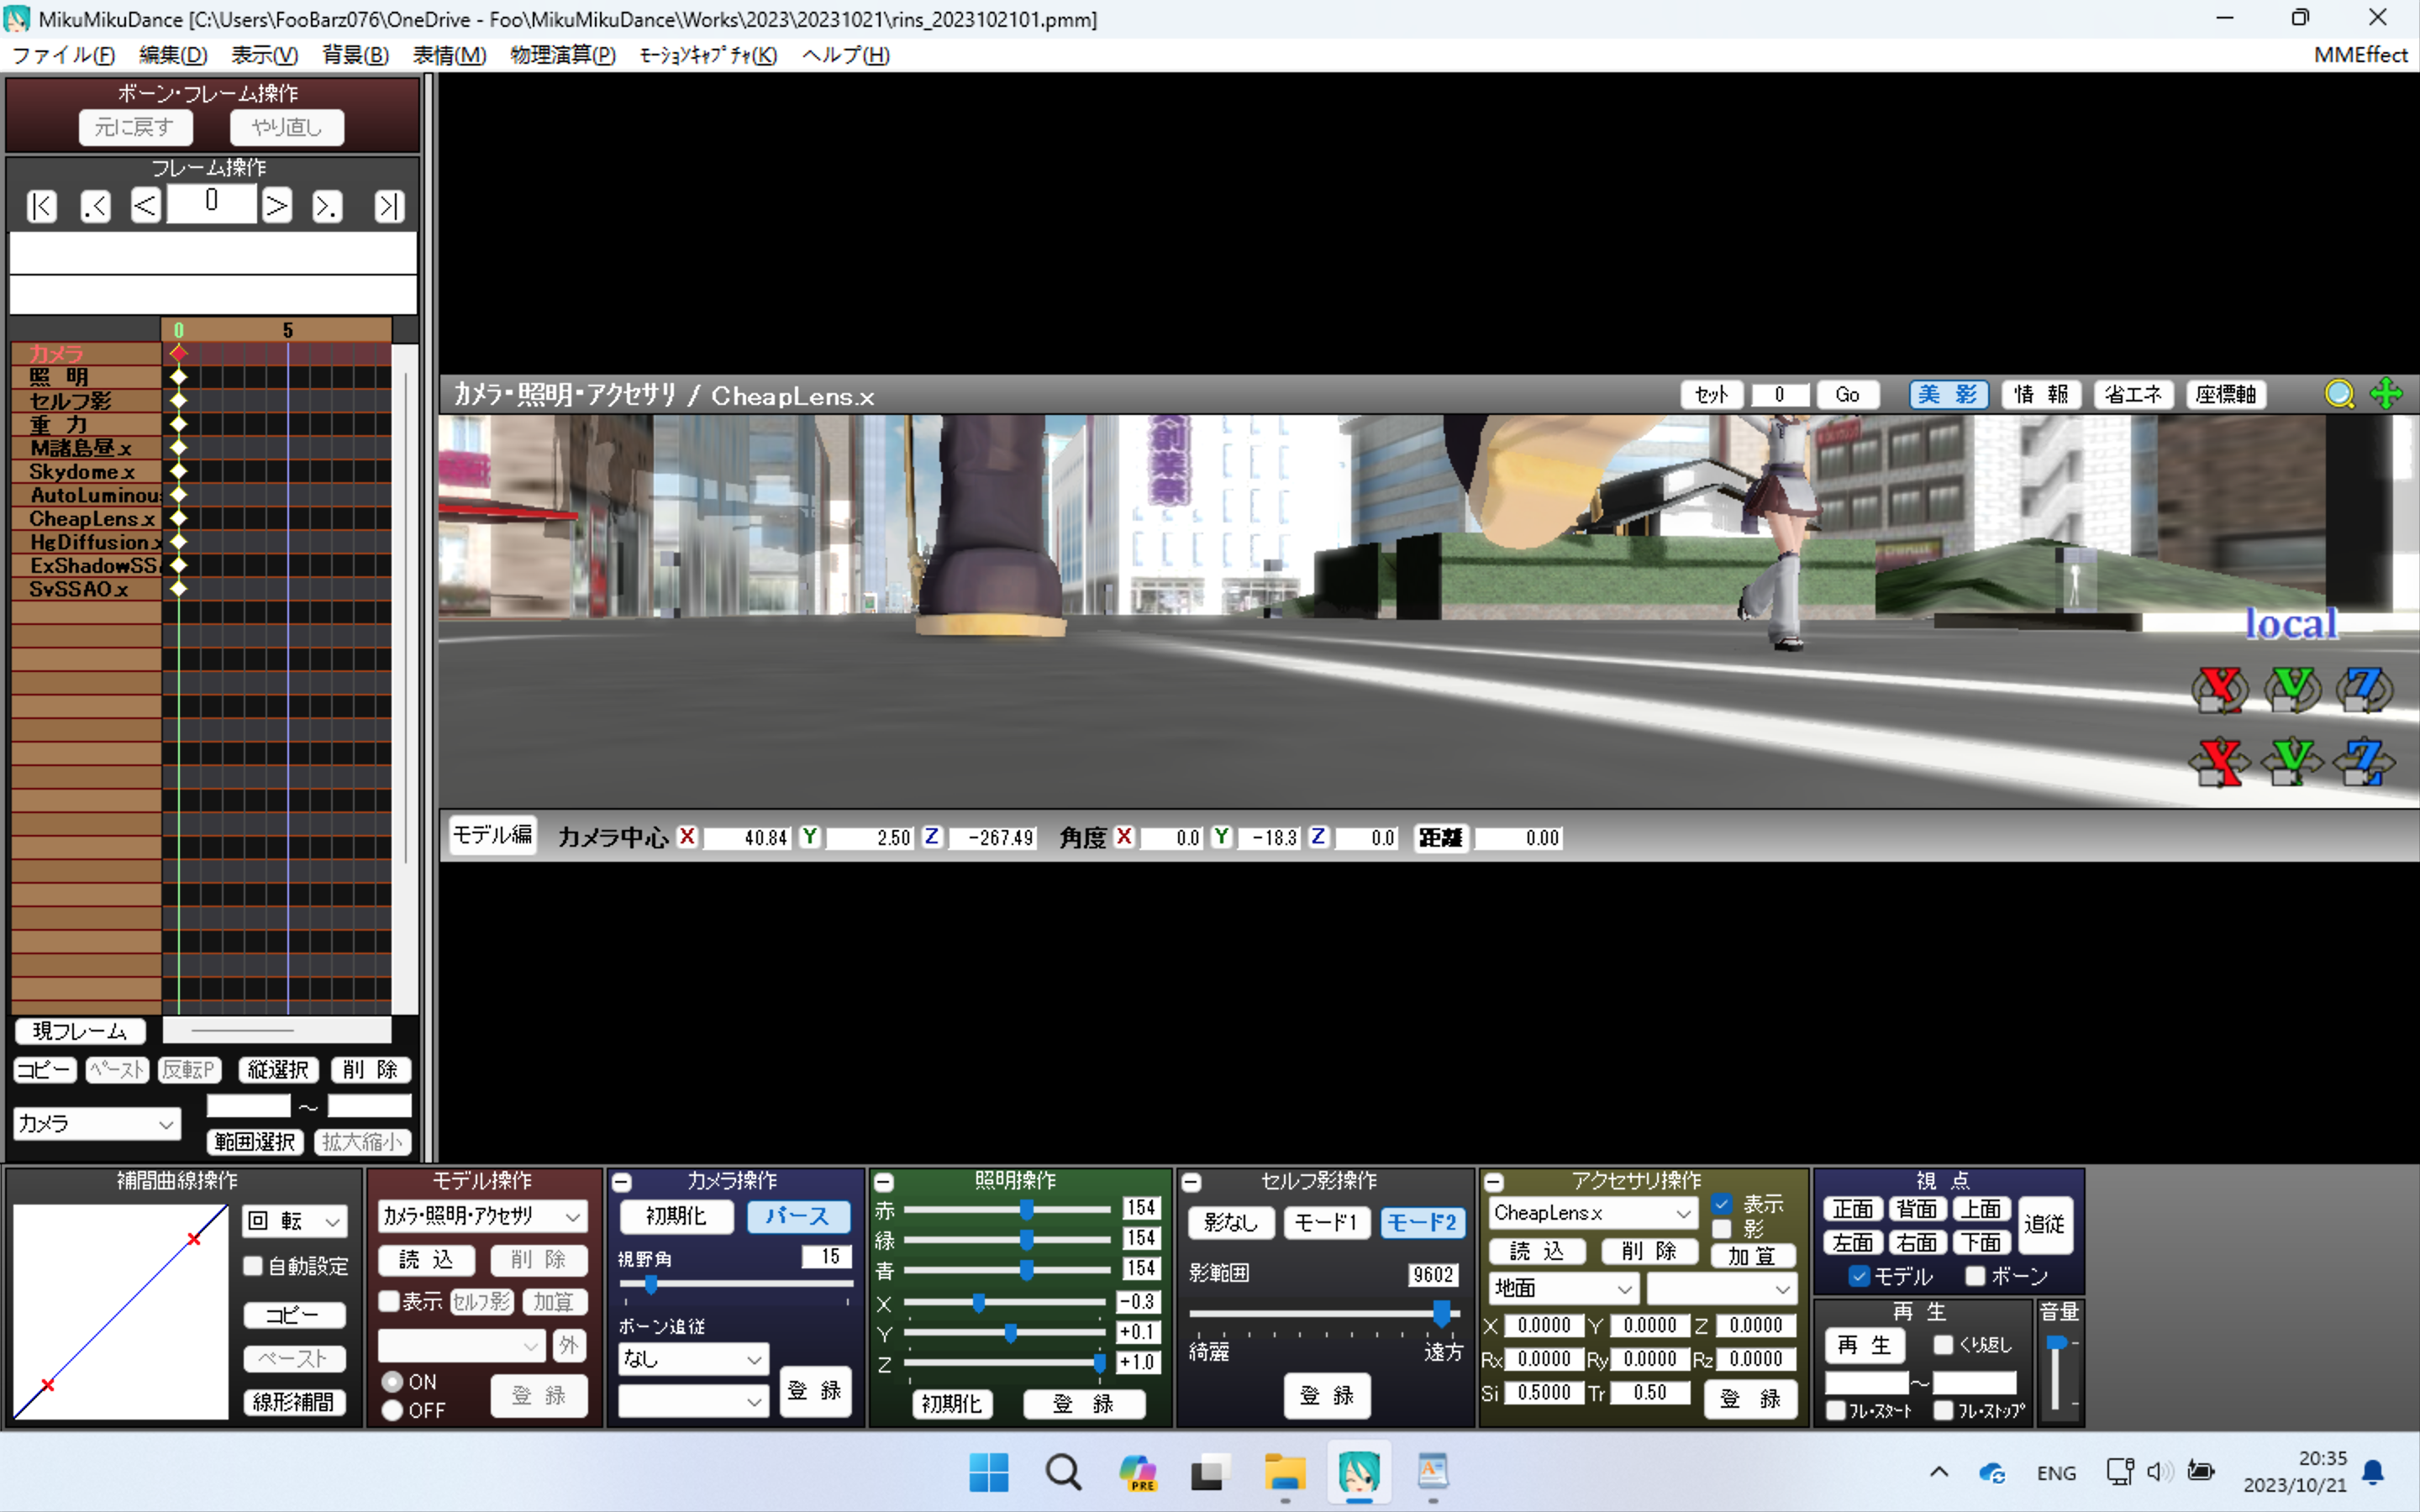
- Rotate the X-axis a number of degrees and output a center image after each rotation.
If you have some command line manipulation skills, the following might help you reduce some of the time it takes to repeatedly output each intermediate image.
and the following requires a Windows subsystem for Linux to be installed, it doesn’t matter what distro you choose, as long as you can use ffmpeg.
Or if you have another way of outputting the video as a picture of each frame it will work, I didn’t look into any other methods.
- Select another keyframe and rotate the field of view to where the wide view ends (don’t forget to log in).
- I’m used to 10 degree intervals with the default field of view setting (30 degrees), but if you have a very narrow center image (e.g. to get around MMD’s output size limitations, etc.), you may want to reduce the angle of movement for each keyframe.
- Outputs a video of the start-to-finish range.
- If you run into problems later when compositing images that can’t be output as a single image, increasing the frame rate at output may help.
- However, increasing the frame rate will also increase the number of intermediate images and lengthen the time needed for post-processing, so you may need to adjust settings such as the field of view angle and output resolution if you still can’t synthesize a single image after increasing the frame rate.

- Outputs frame-by-frame images via
ffmpeg.
$ ffmpeg -i temp.avi %03d.png -hide_bannerCompositing a wide-view image
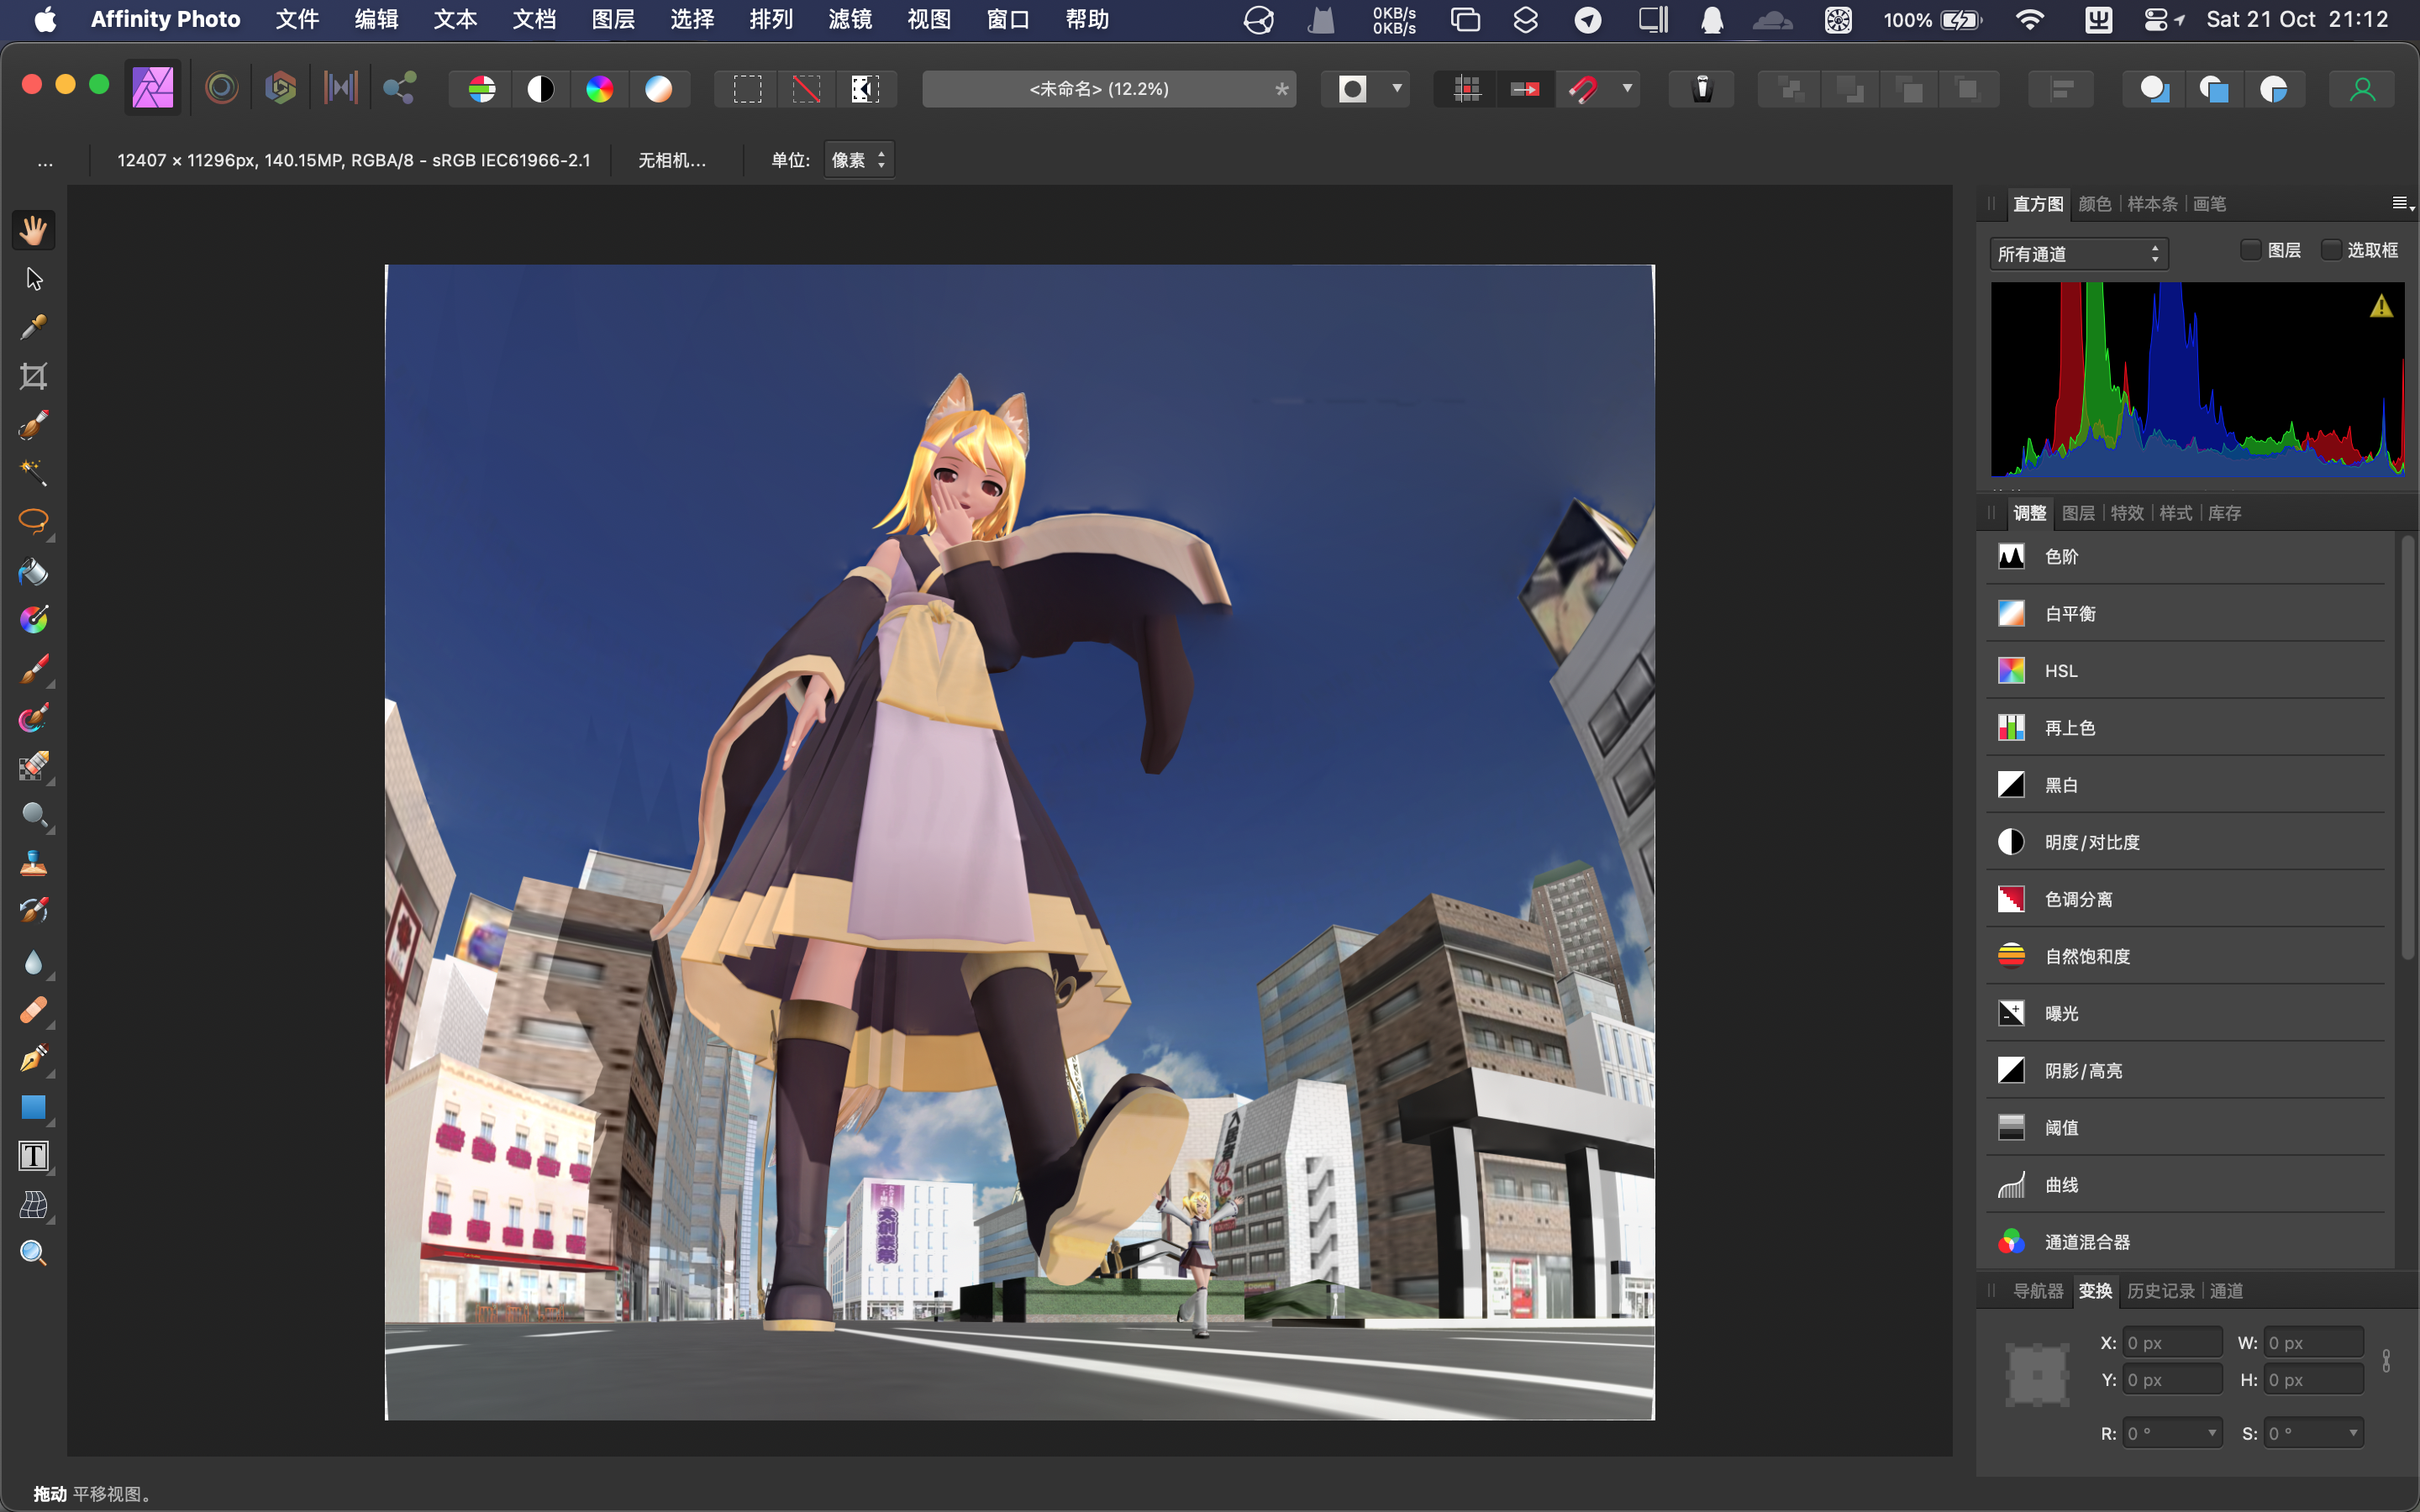
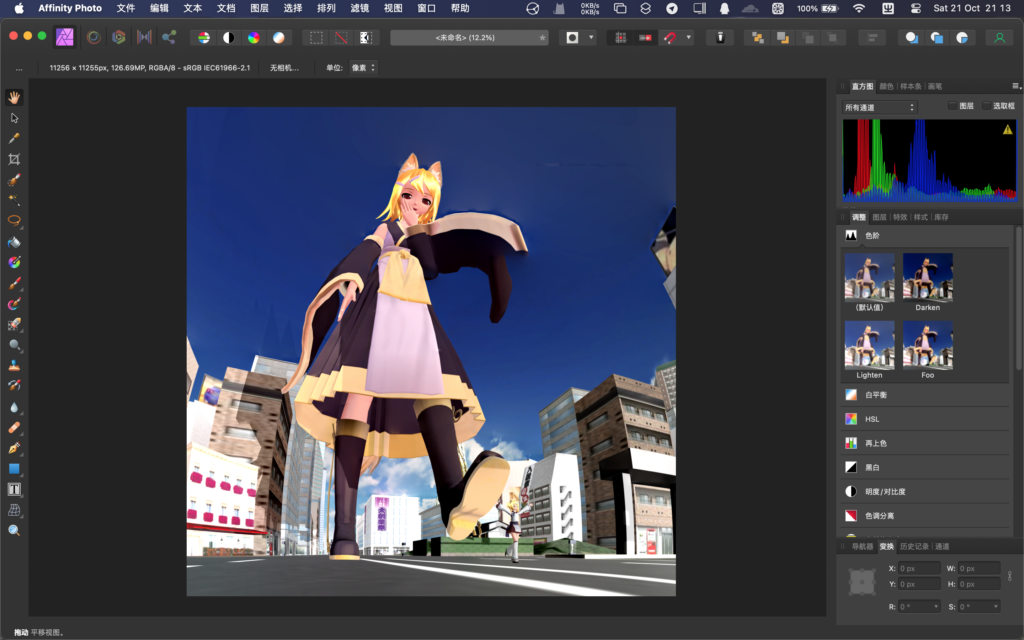
- I’m using Affinity Photo here.
- If you’re used to Photoshop, there should be a similar way to do this.
- Affinity’s help is here: https://affinity.help/photo/zh-Hans.lproj/index.html?page=pages/Panorama/panorama_stitching.html?title=%E6%8B%BC% E6%8E%A5%E5%85%A8%E6%99%AF
- Select the images you just exported to output the panorama, and if it fits, it should look like a picture in the preview.
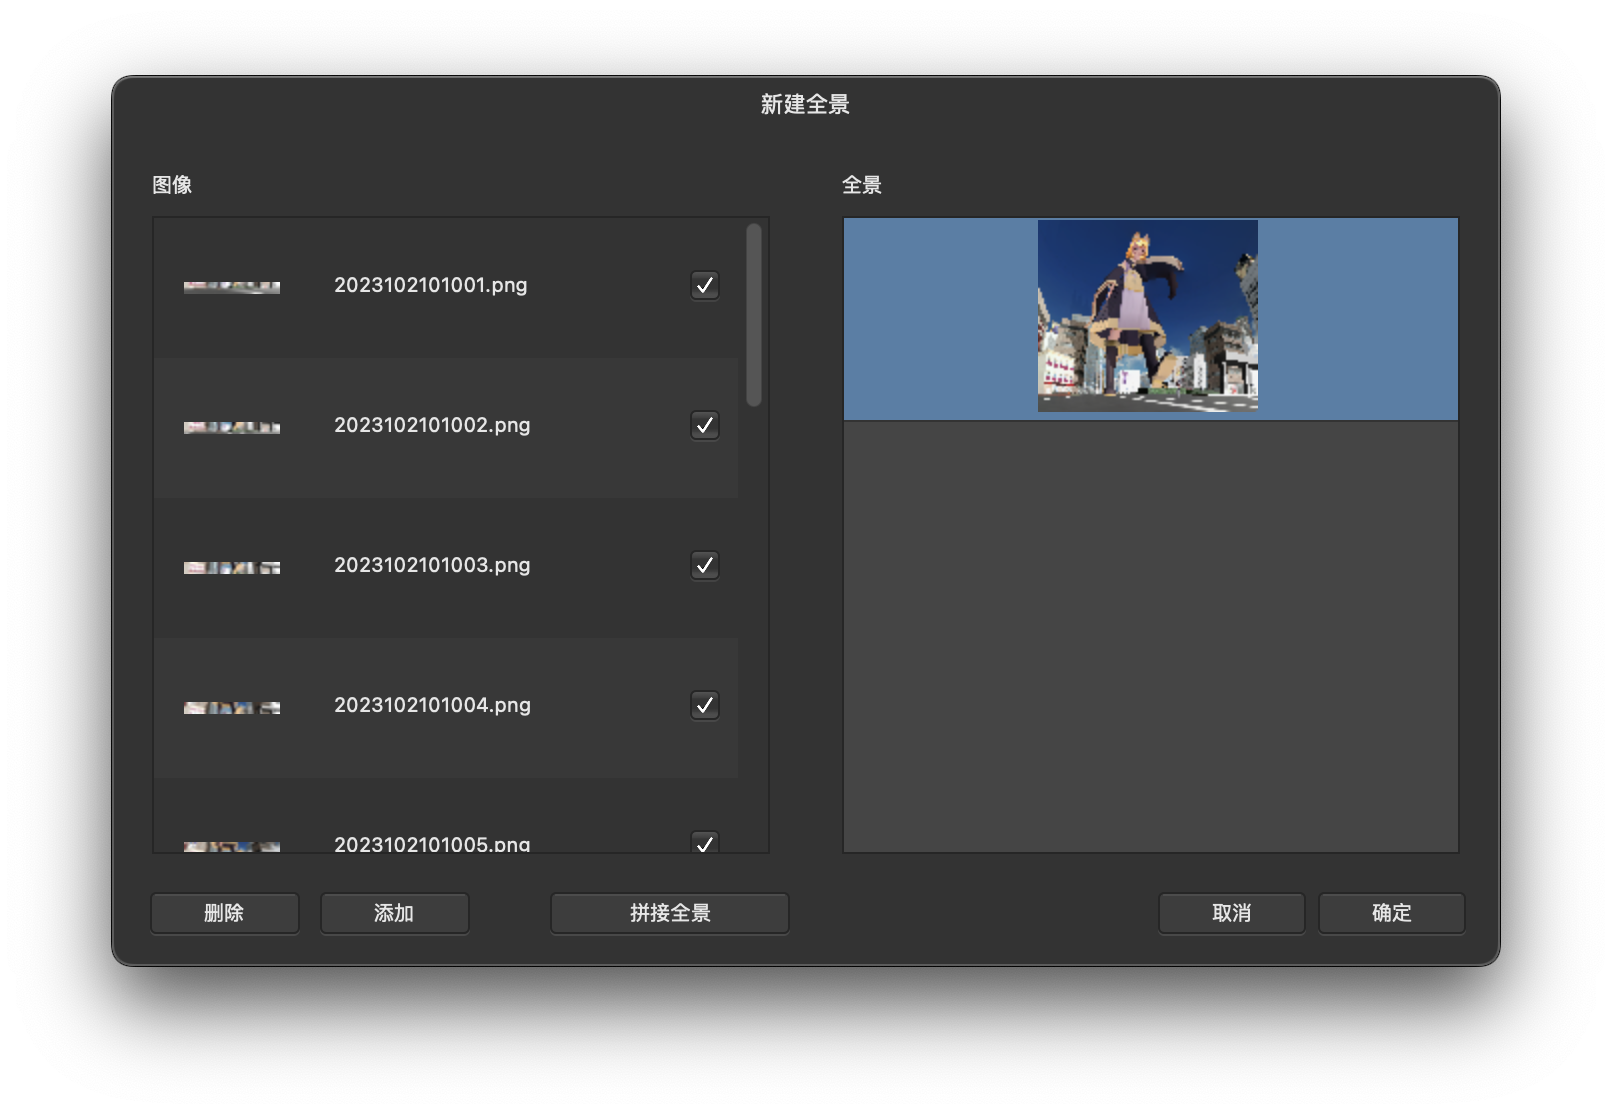
- Click “OK” and wait for the panorama to finish rendering.
- If necessary, you can make some adjustments after confirming the rendering. As well as cropping out the corners.
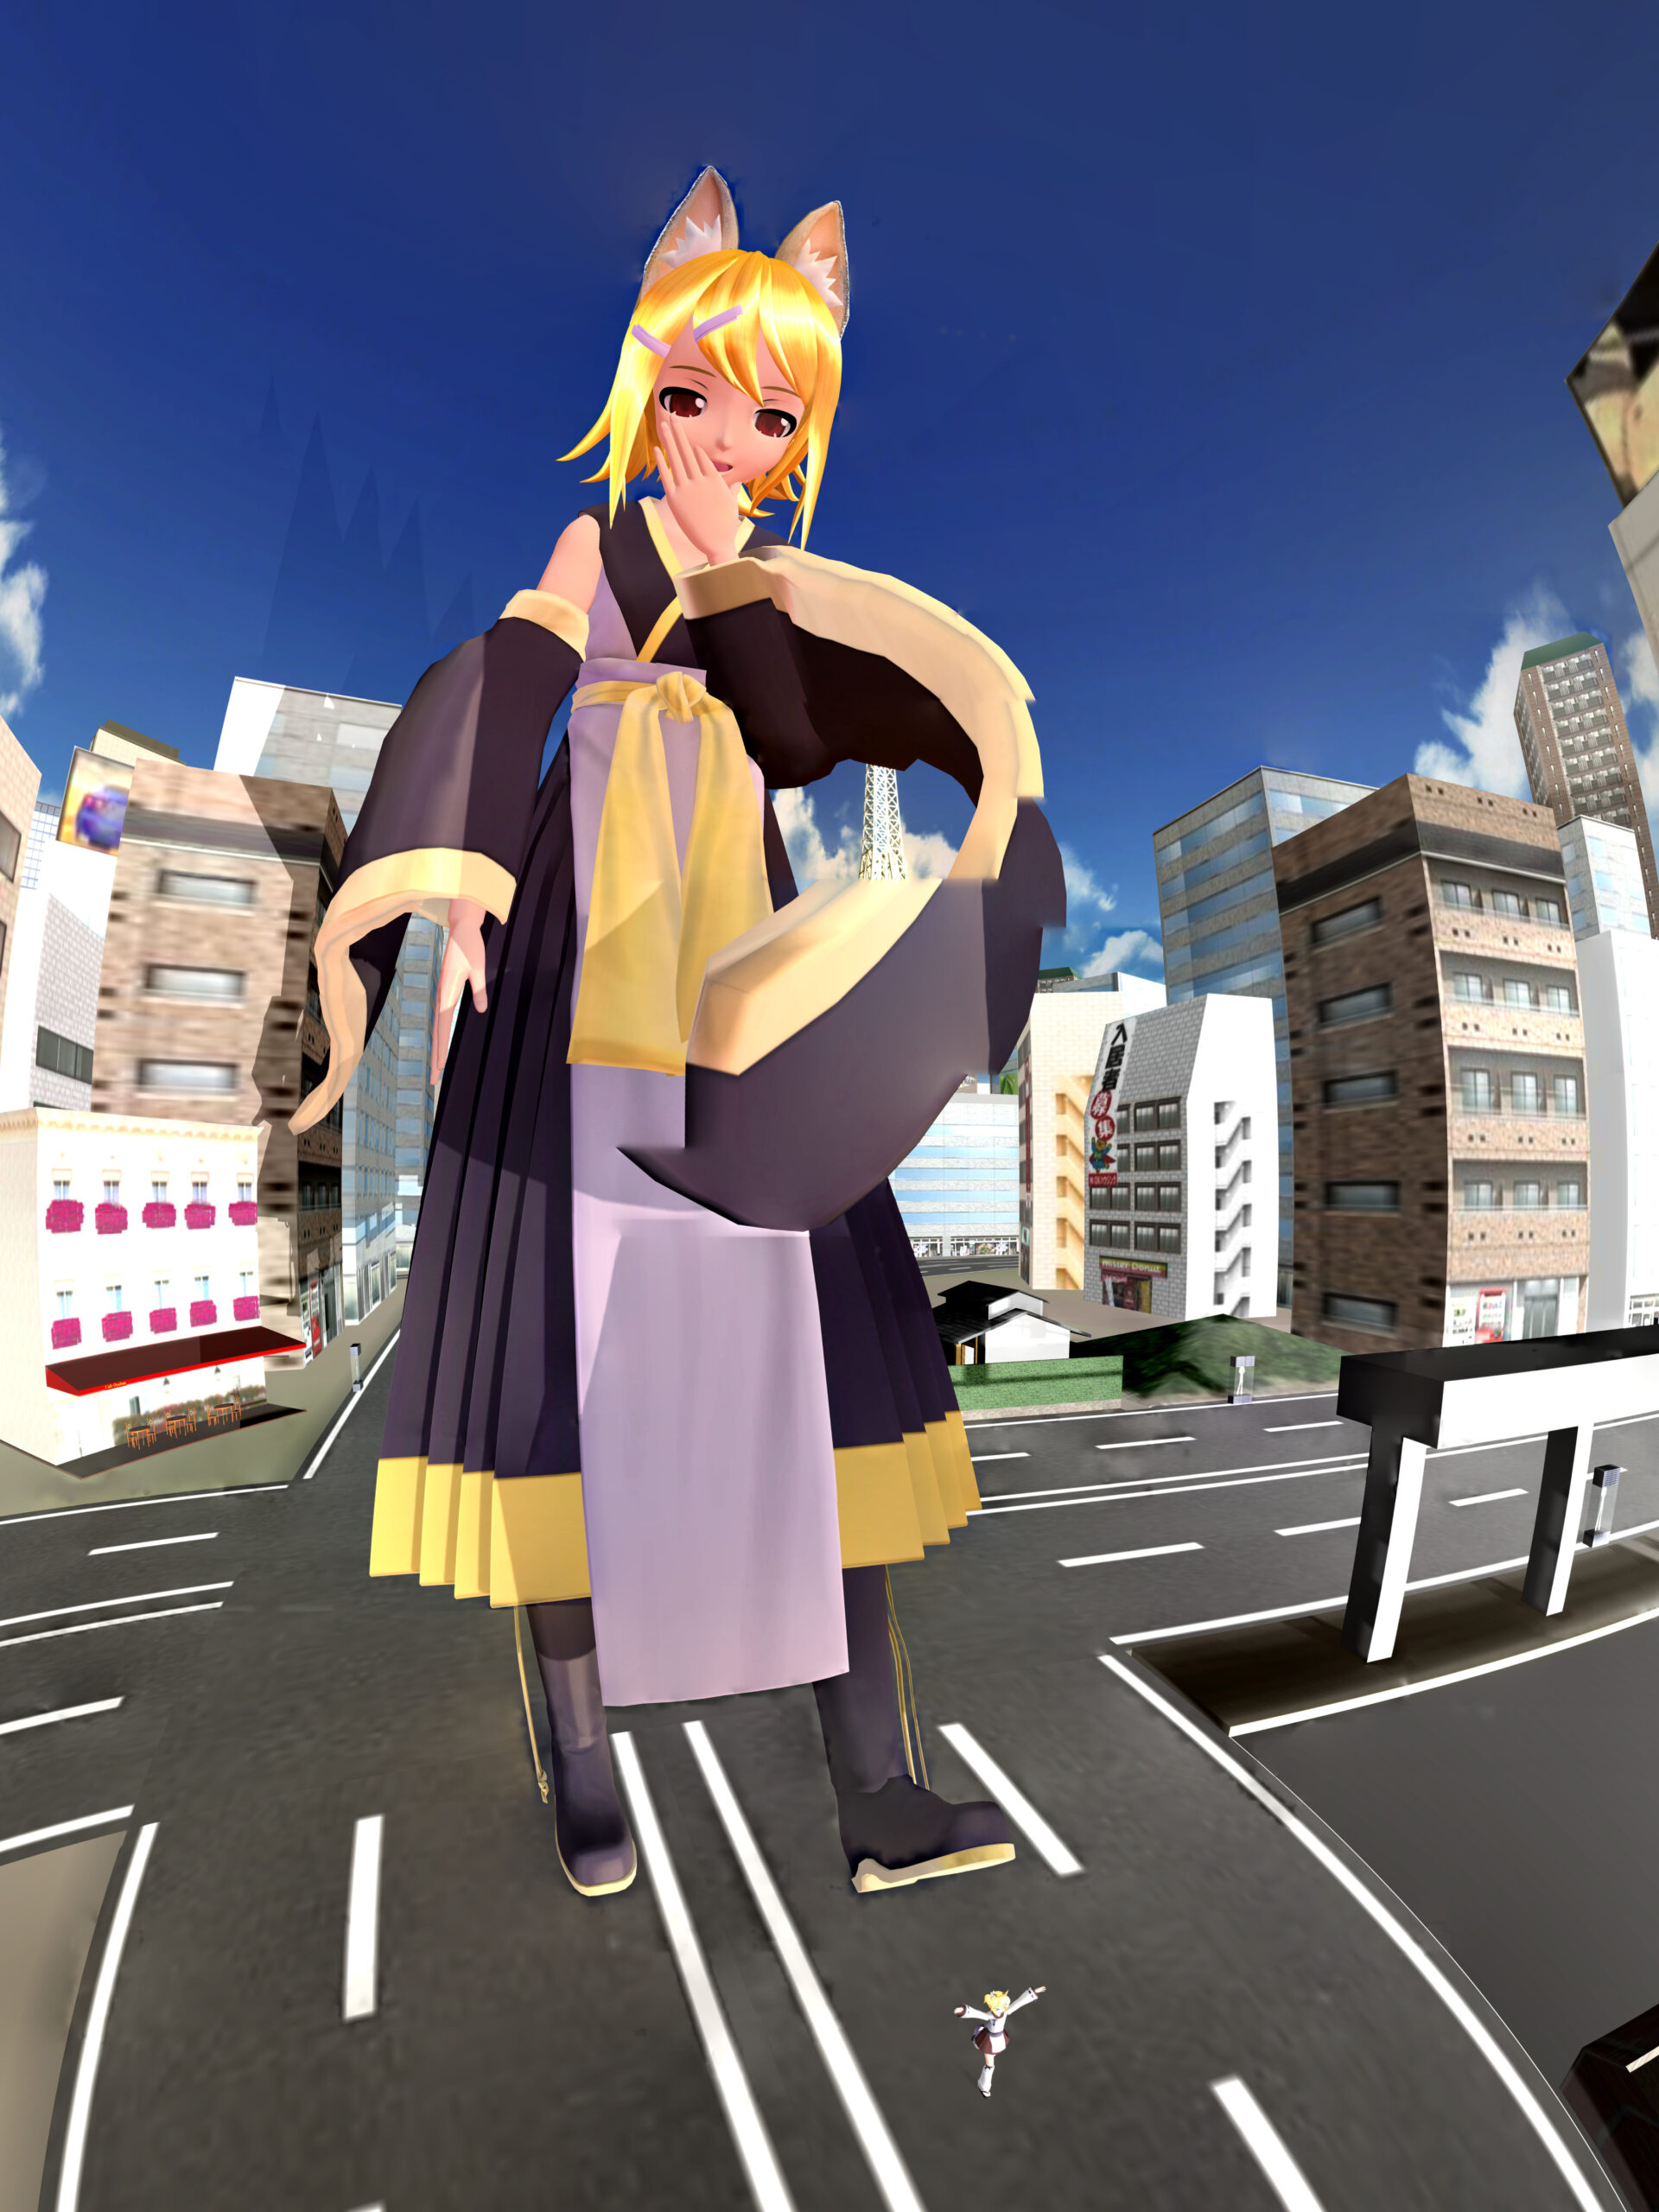
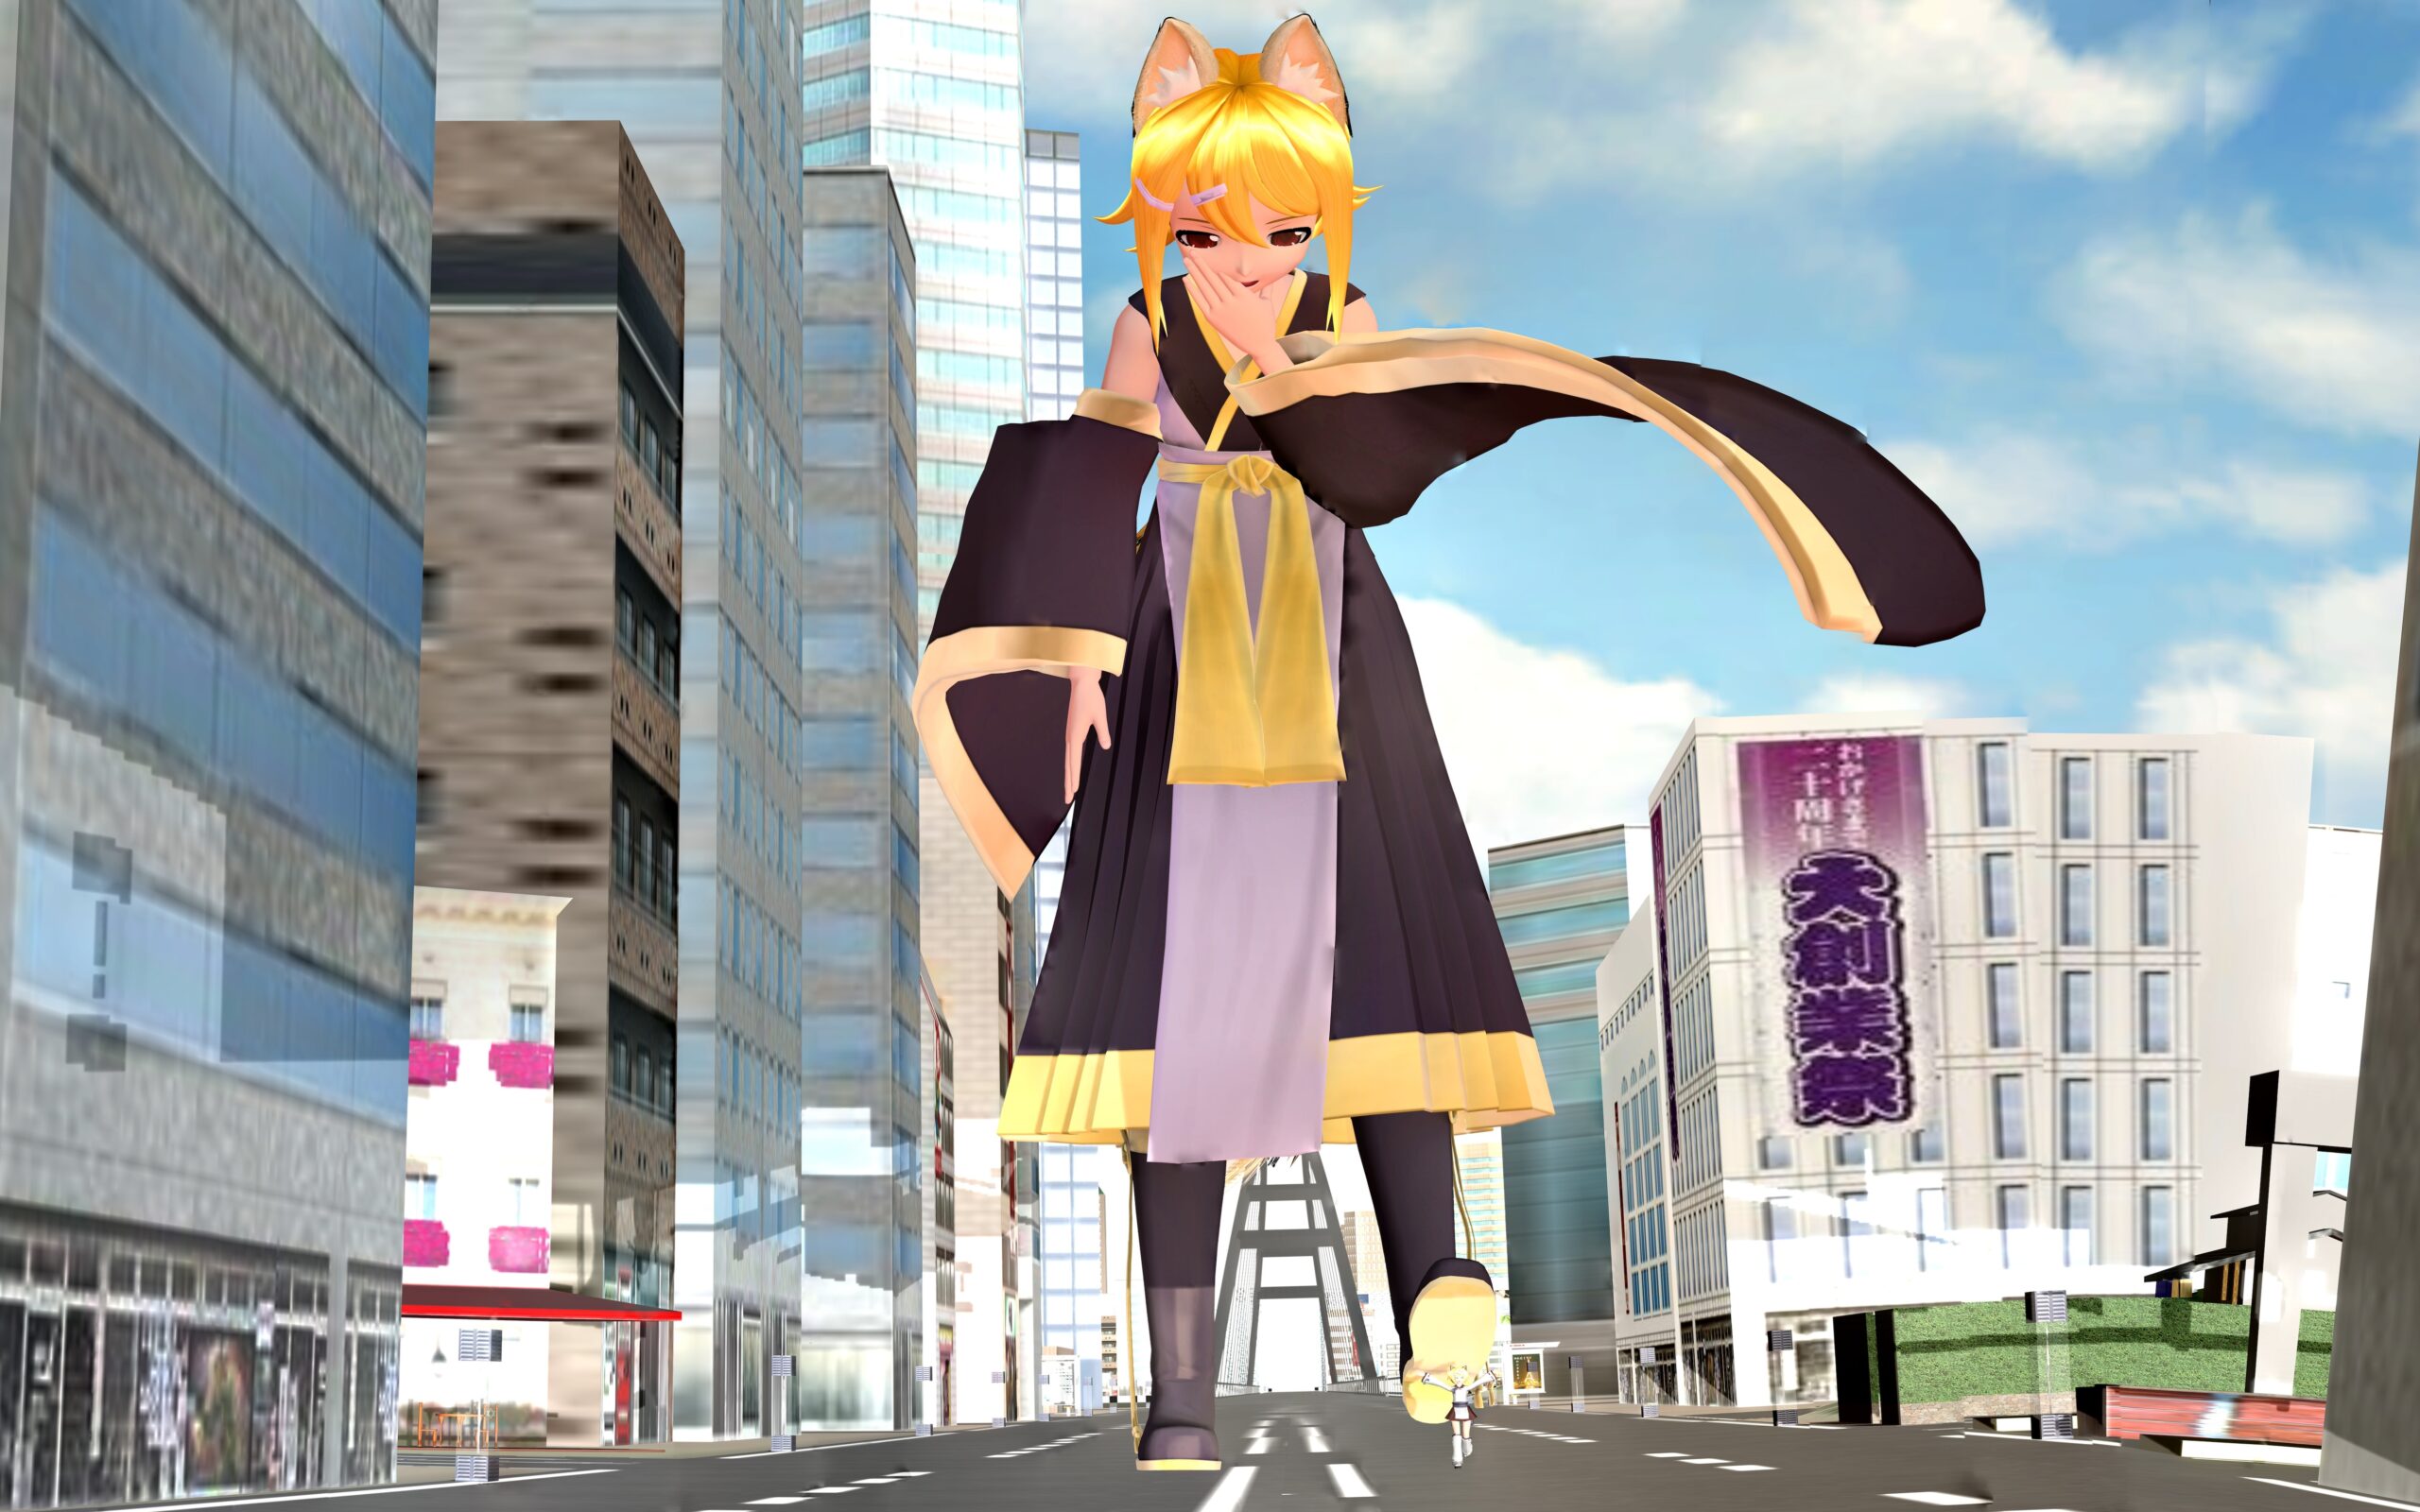
- Then it’s time to output the results.
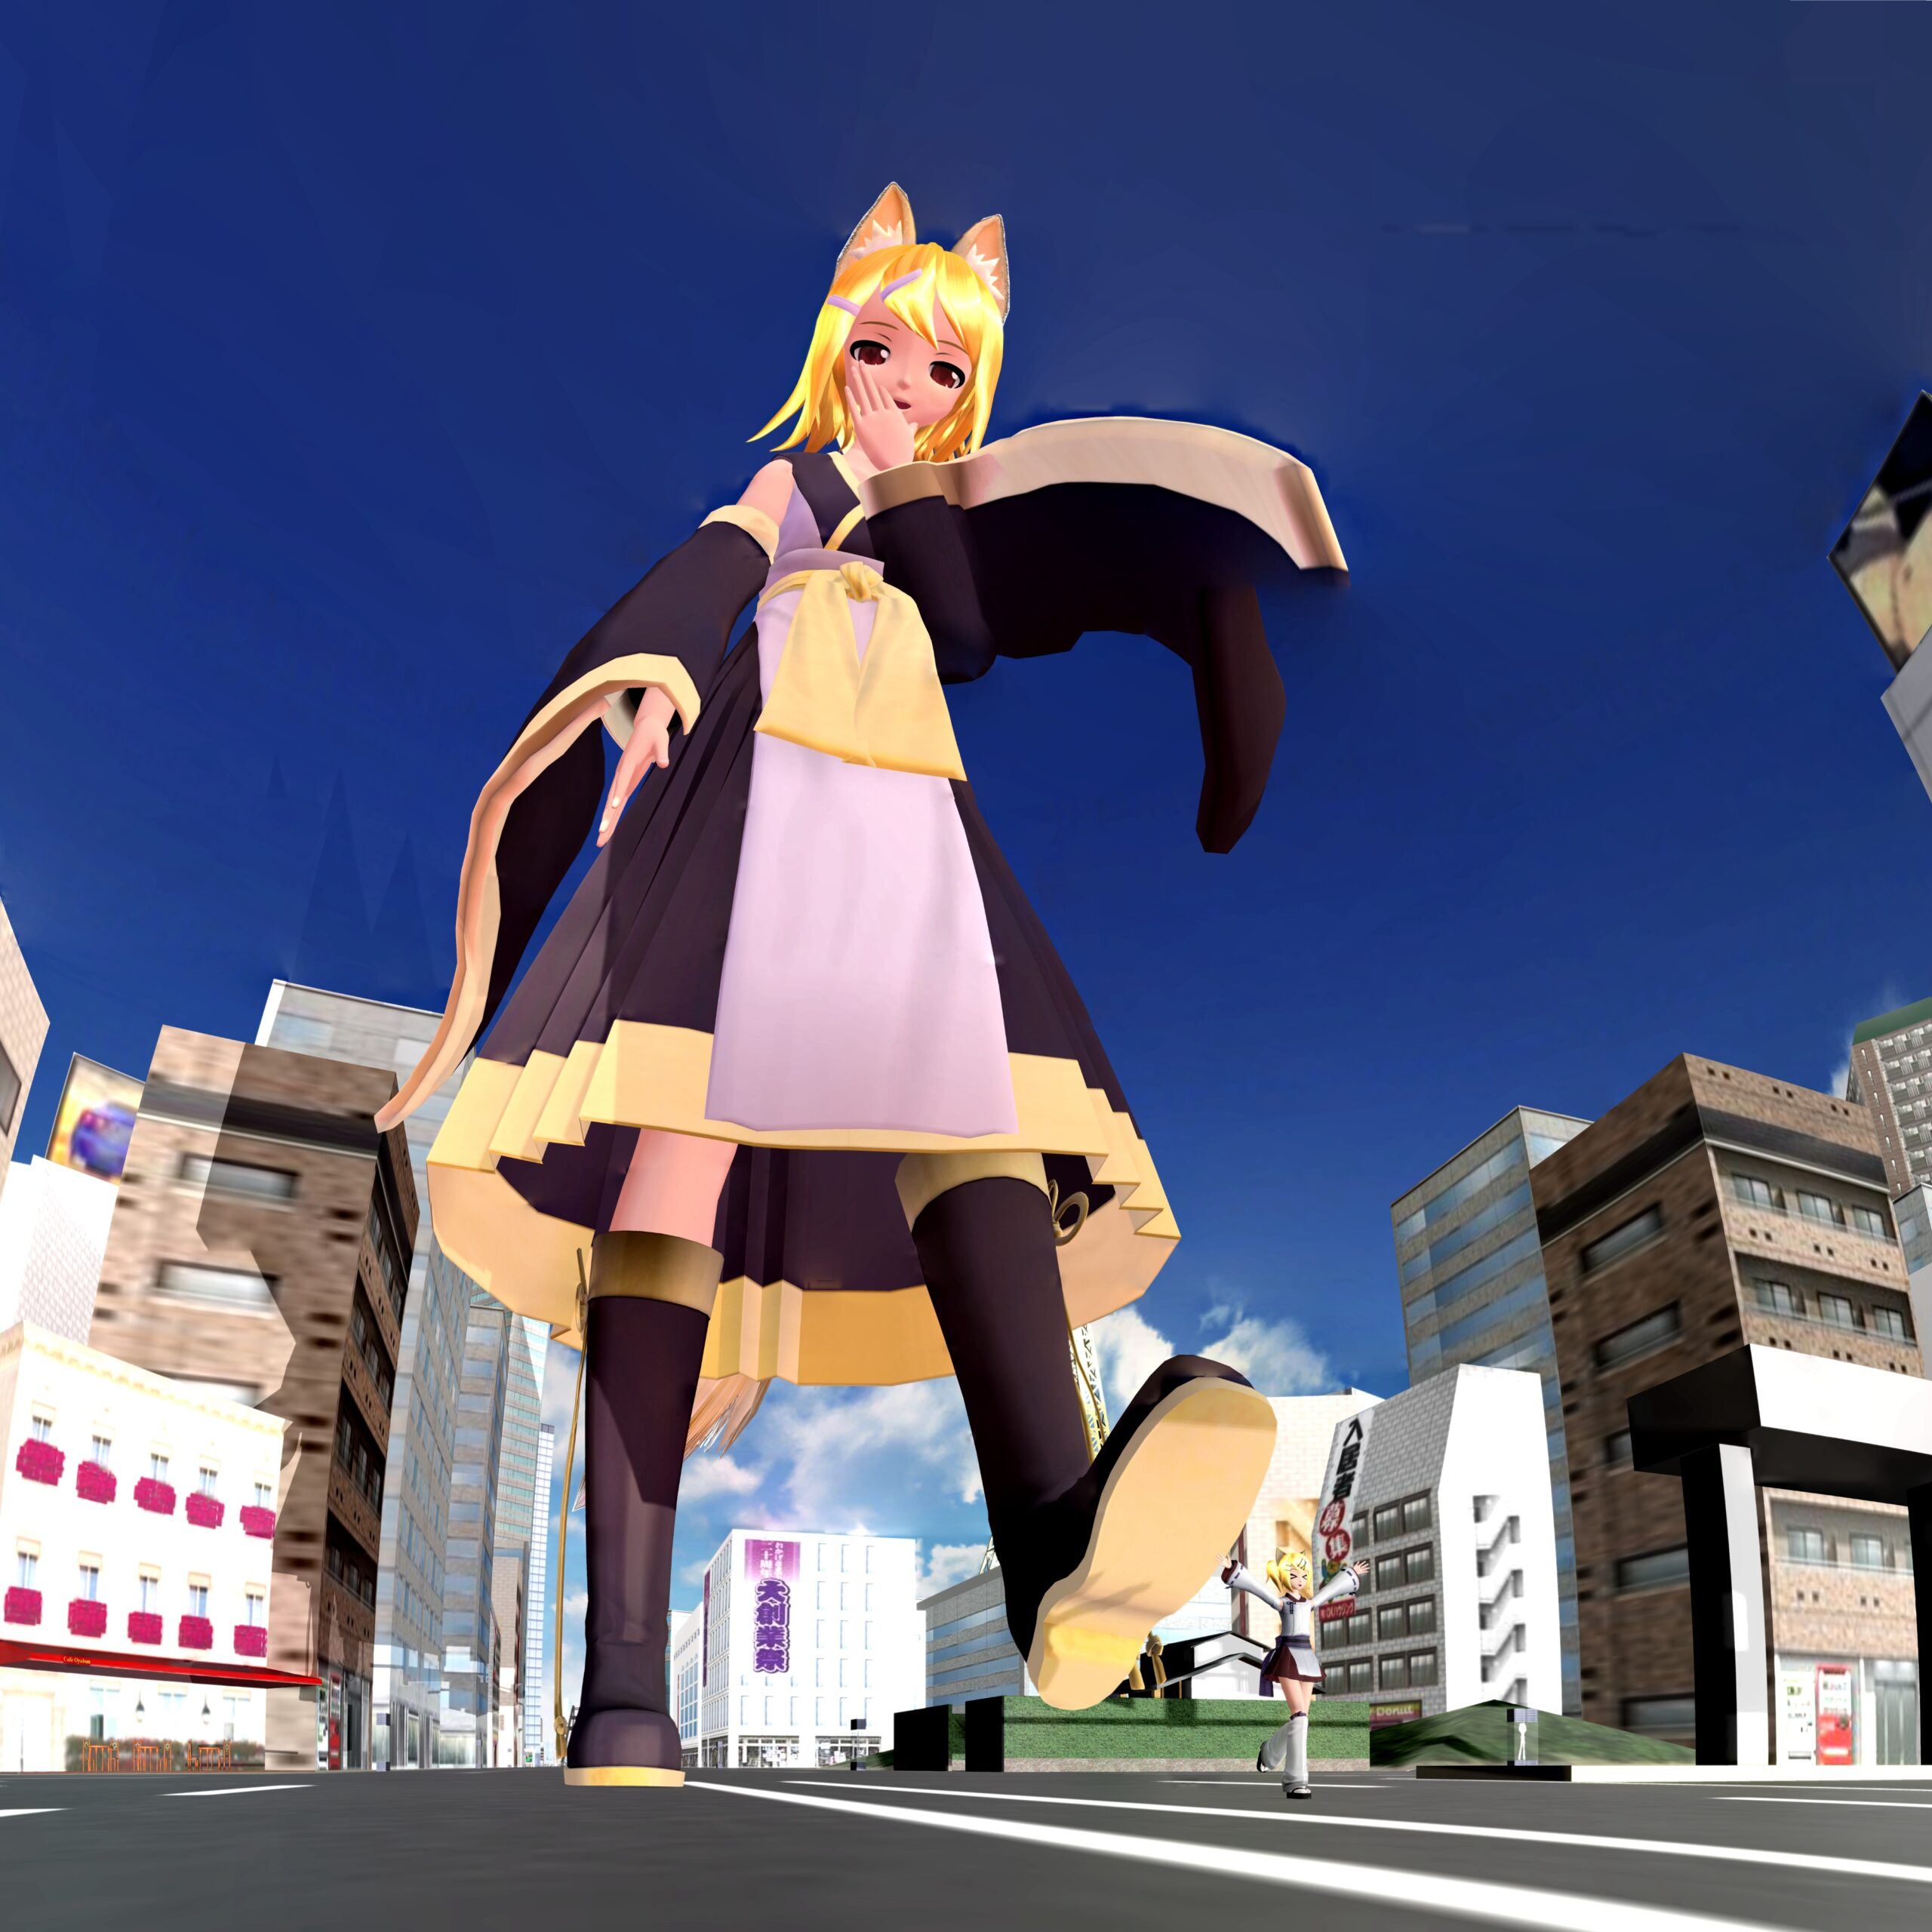
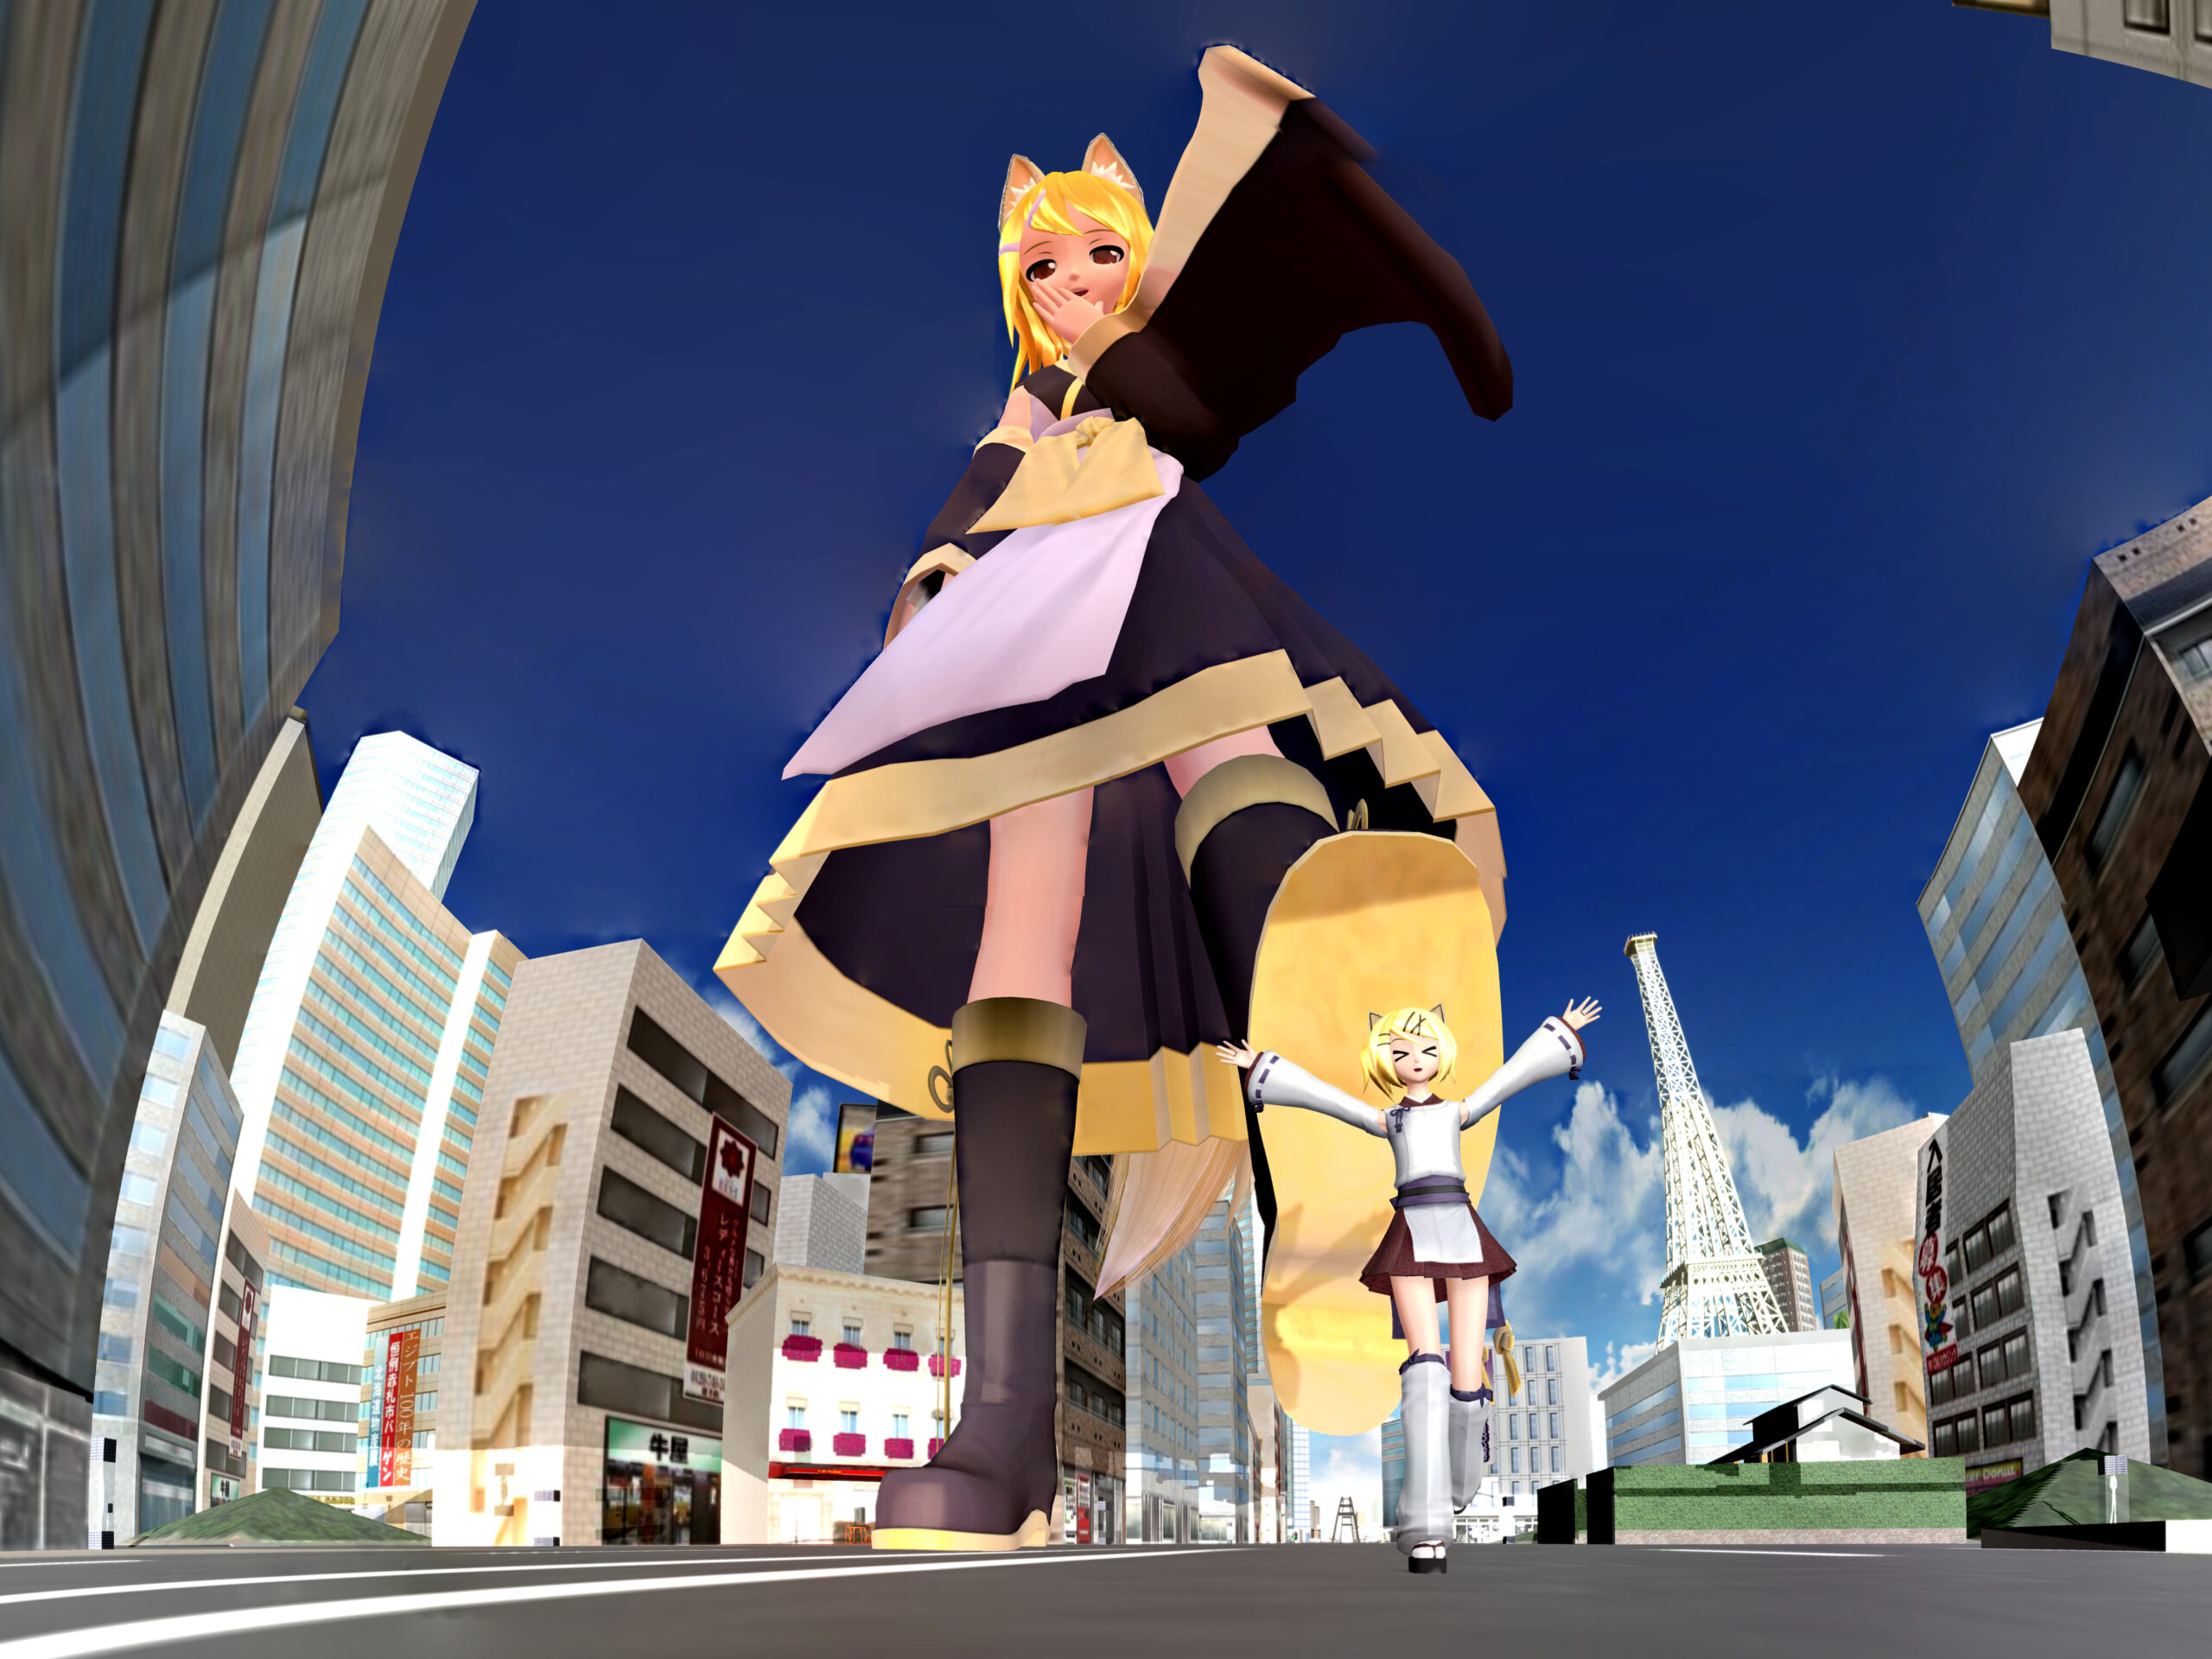
How do different starting positions affect the output results?
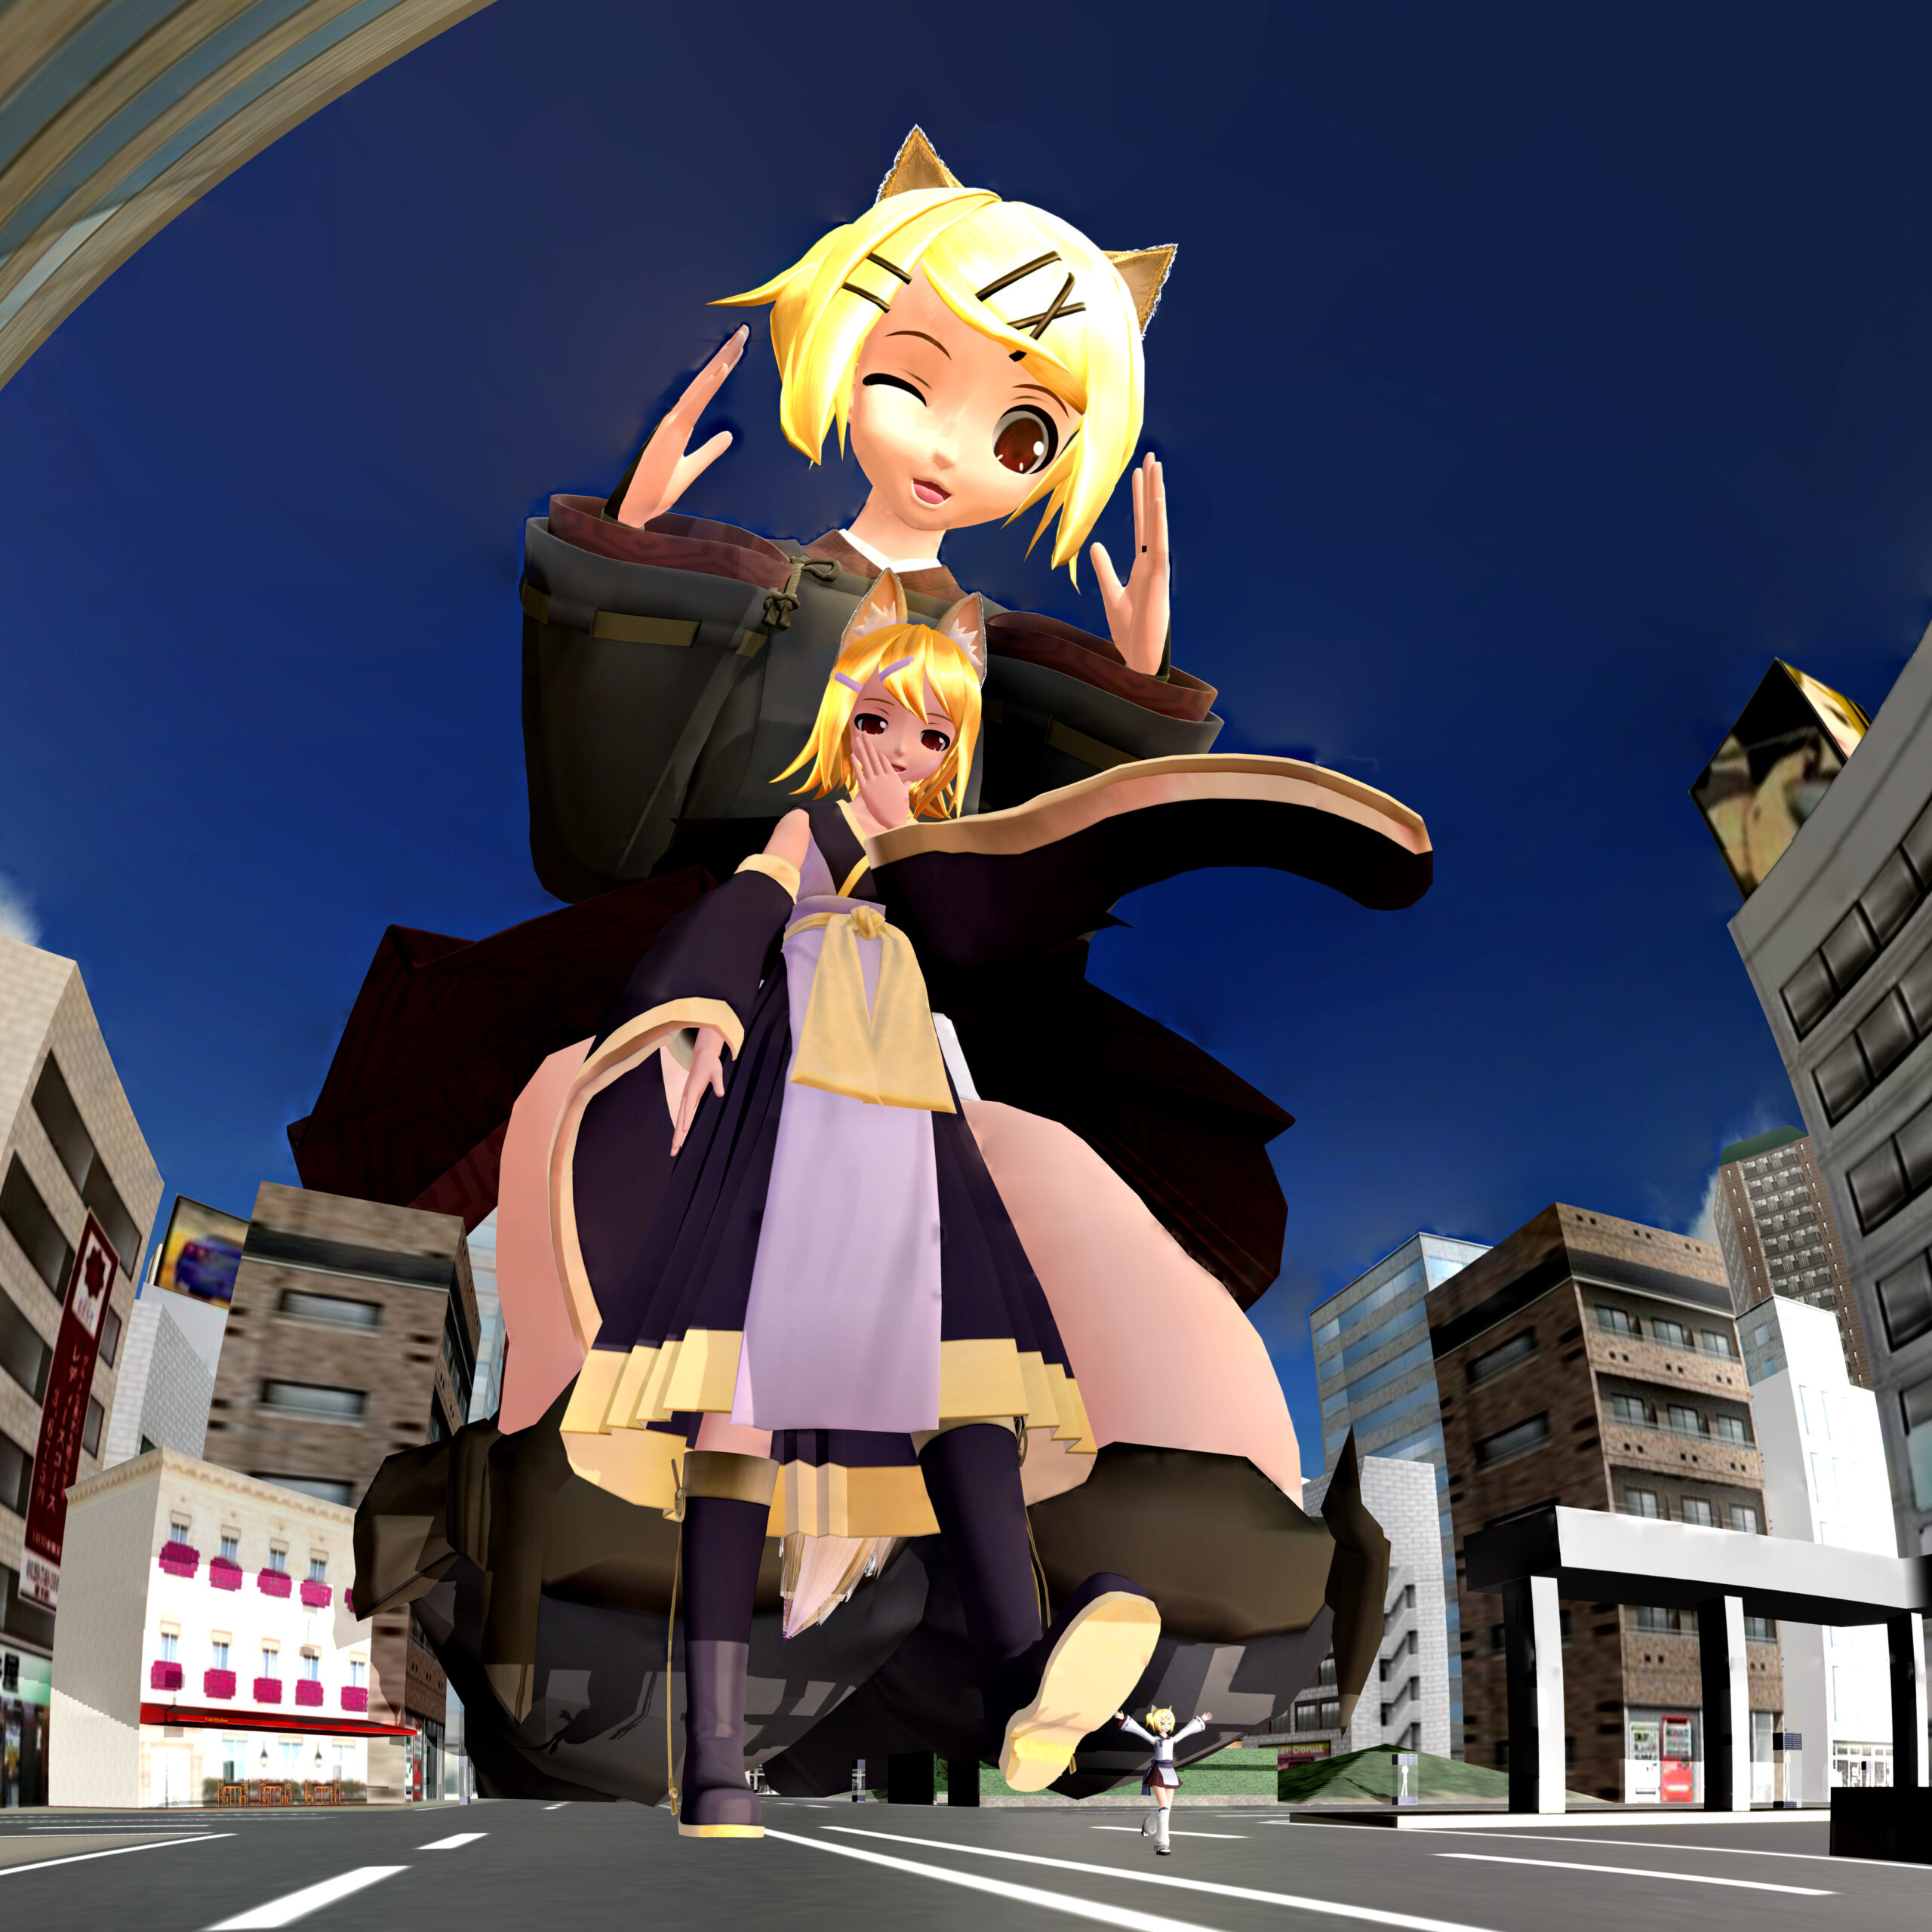
Here are the different effects of positions at 0 degrees up.

Other ways to play?
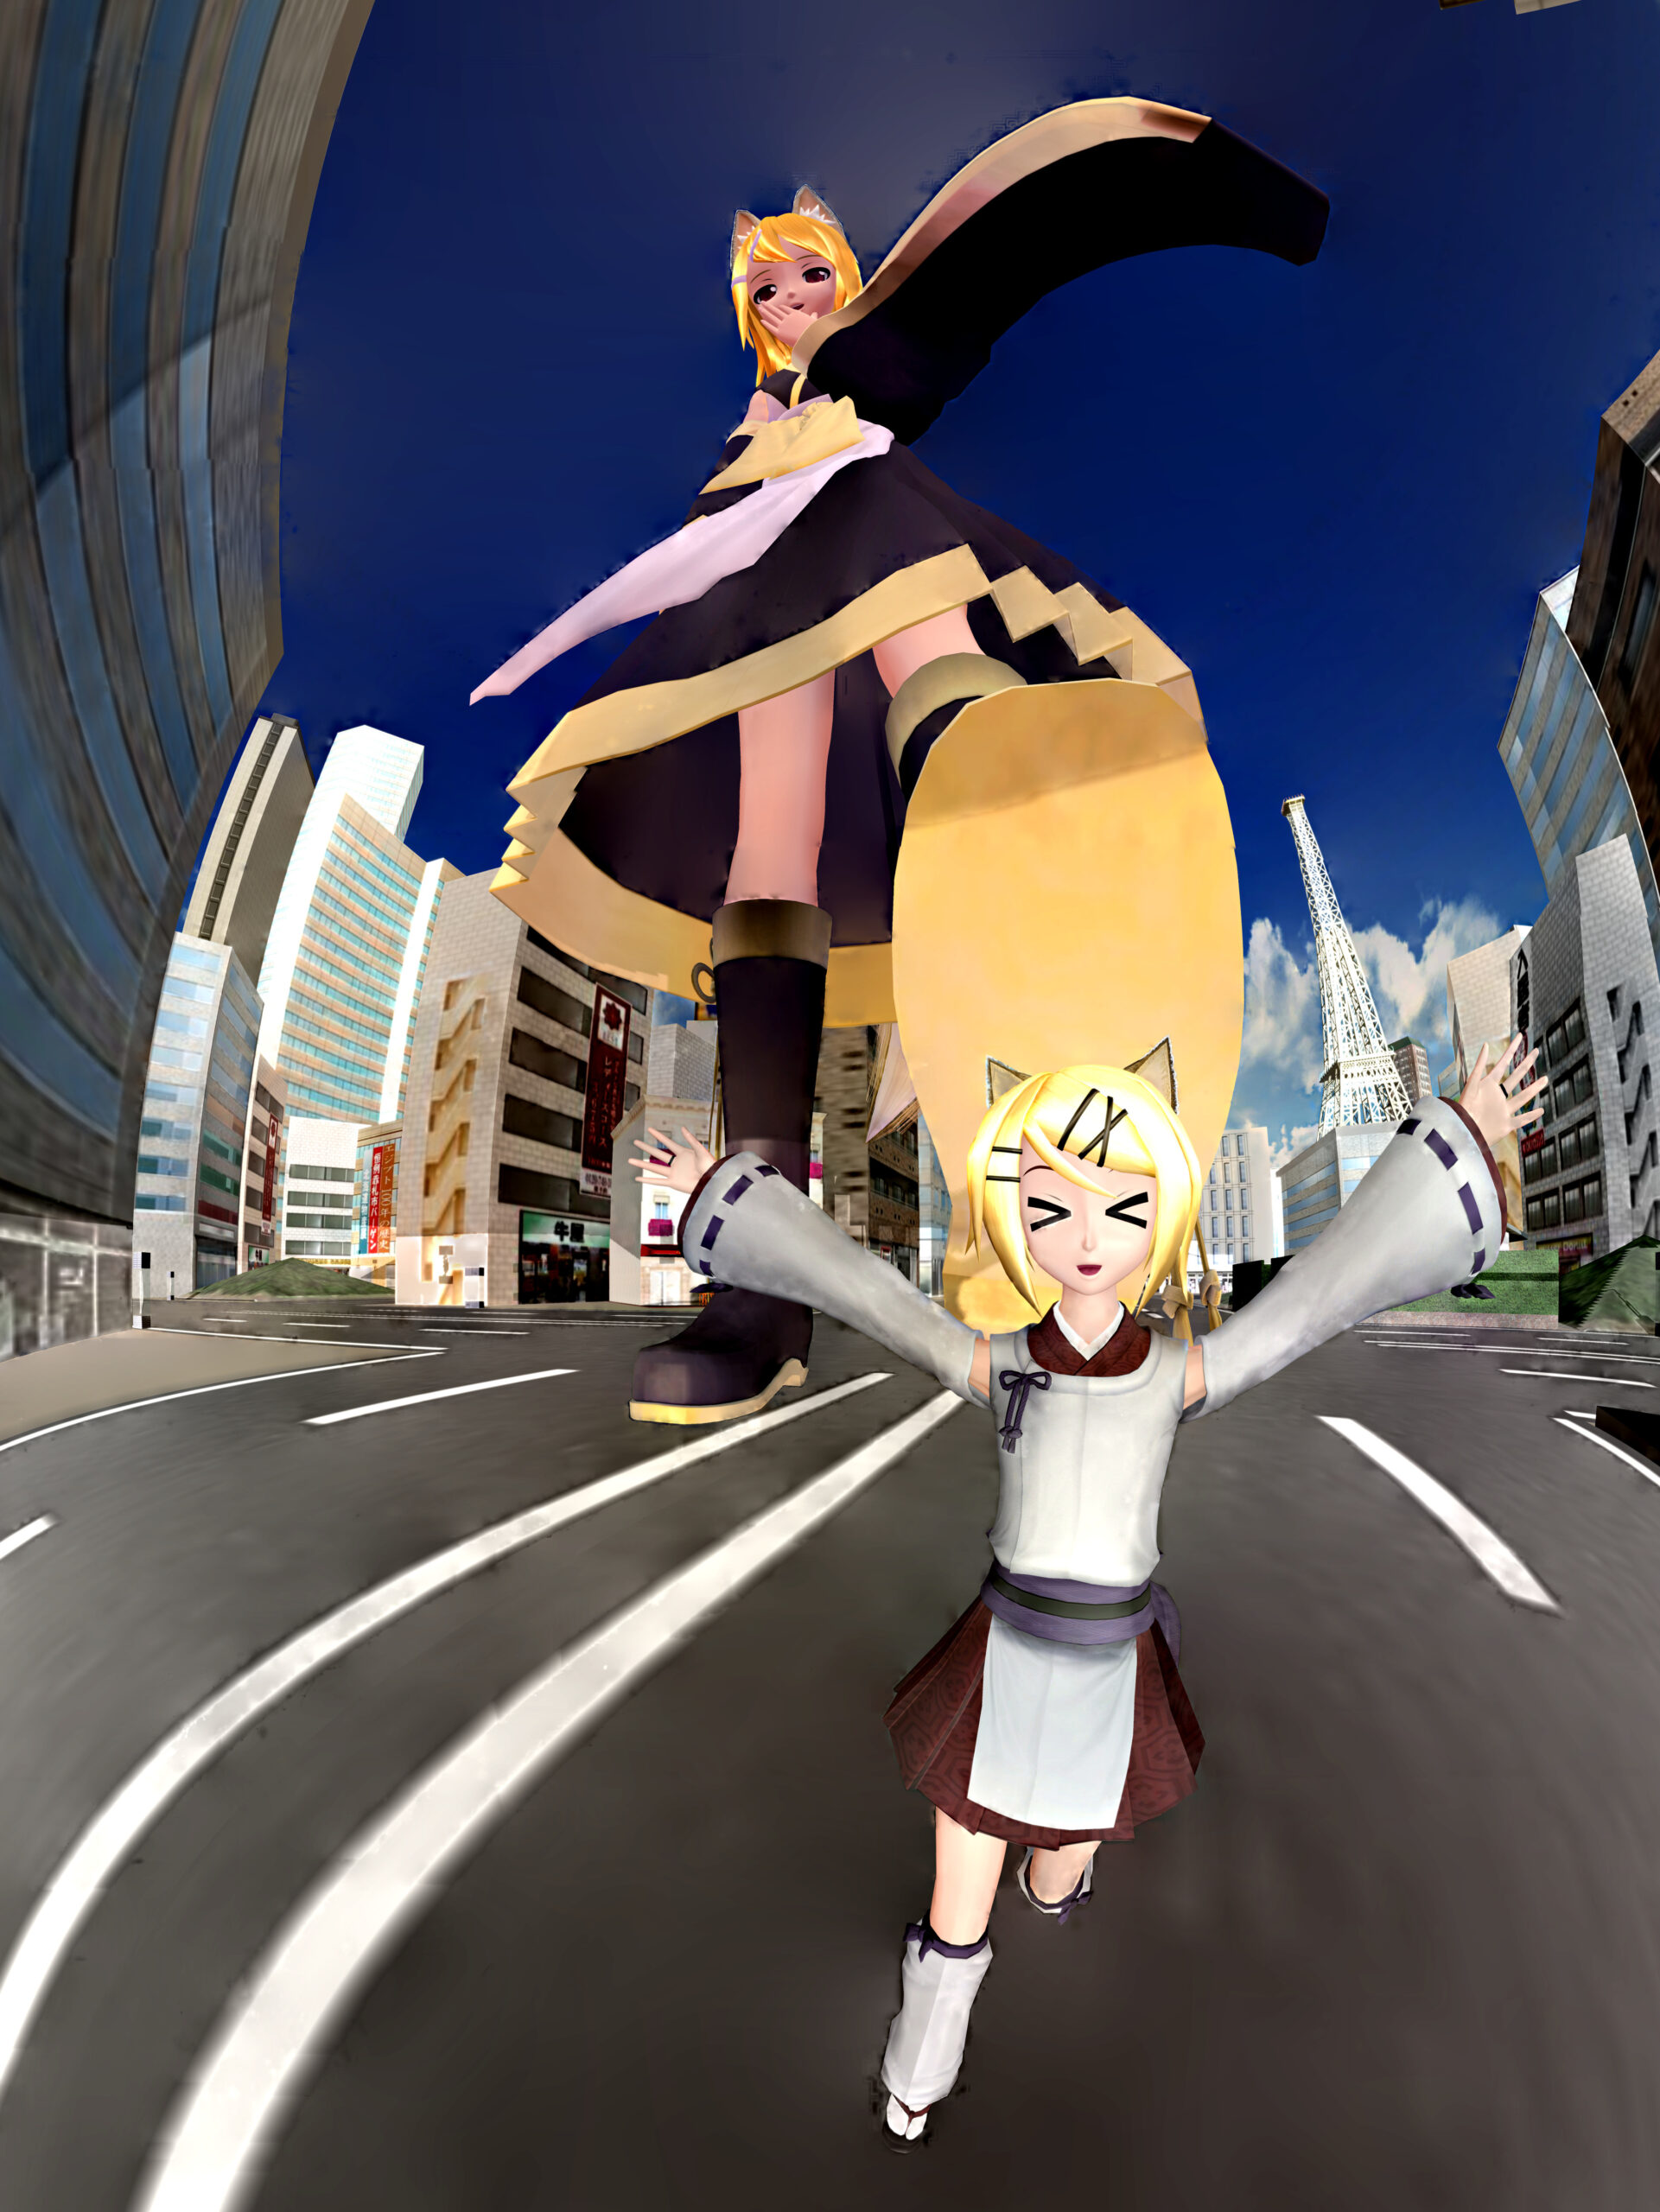
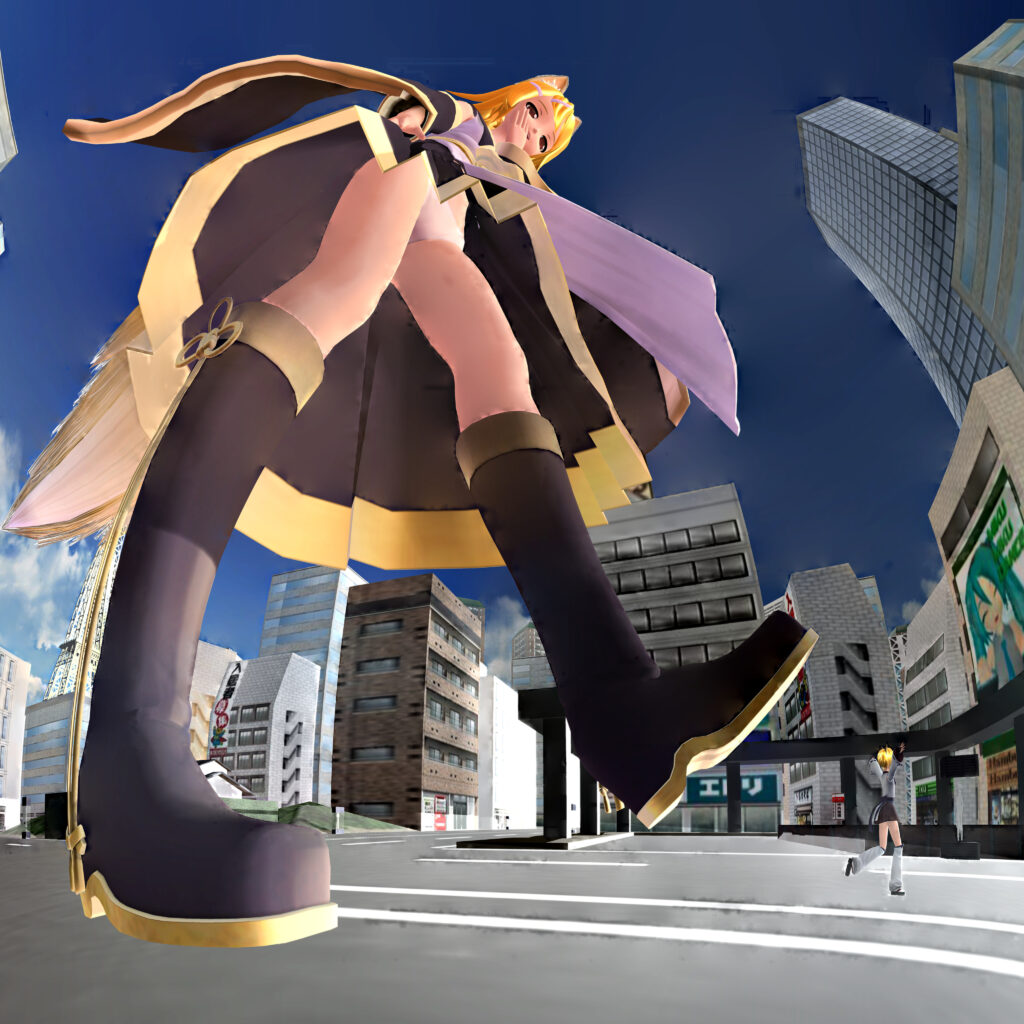
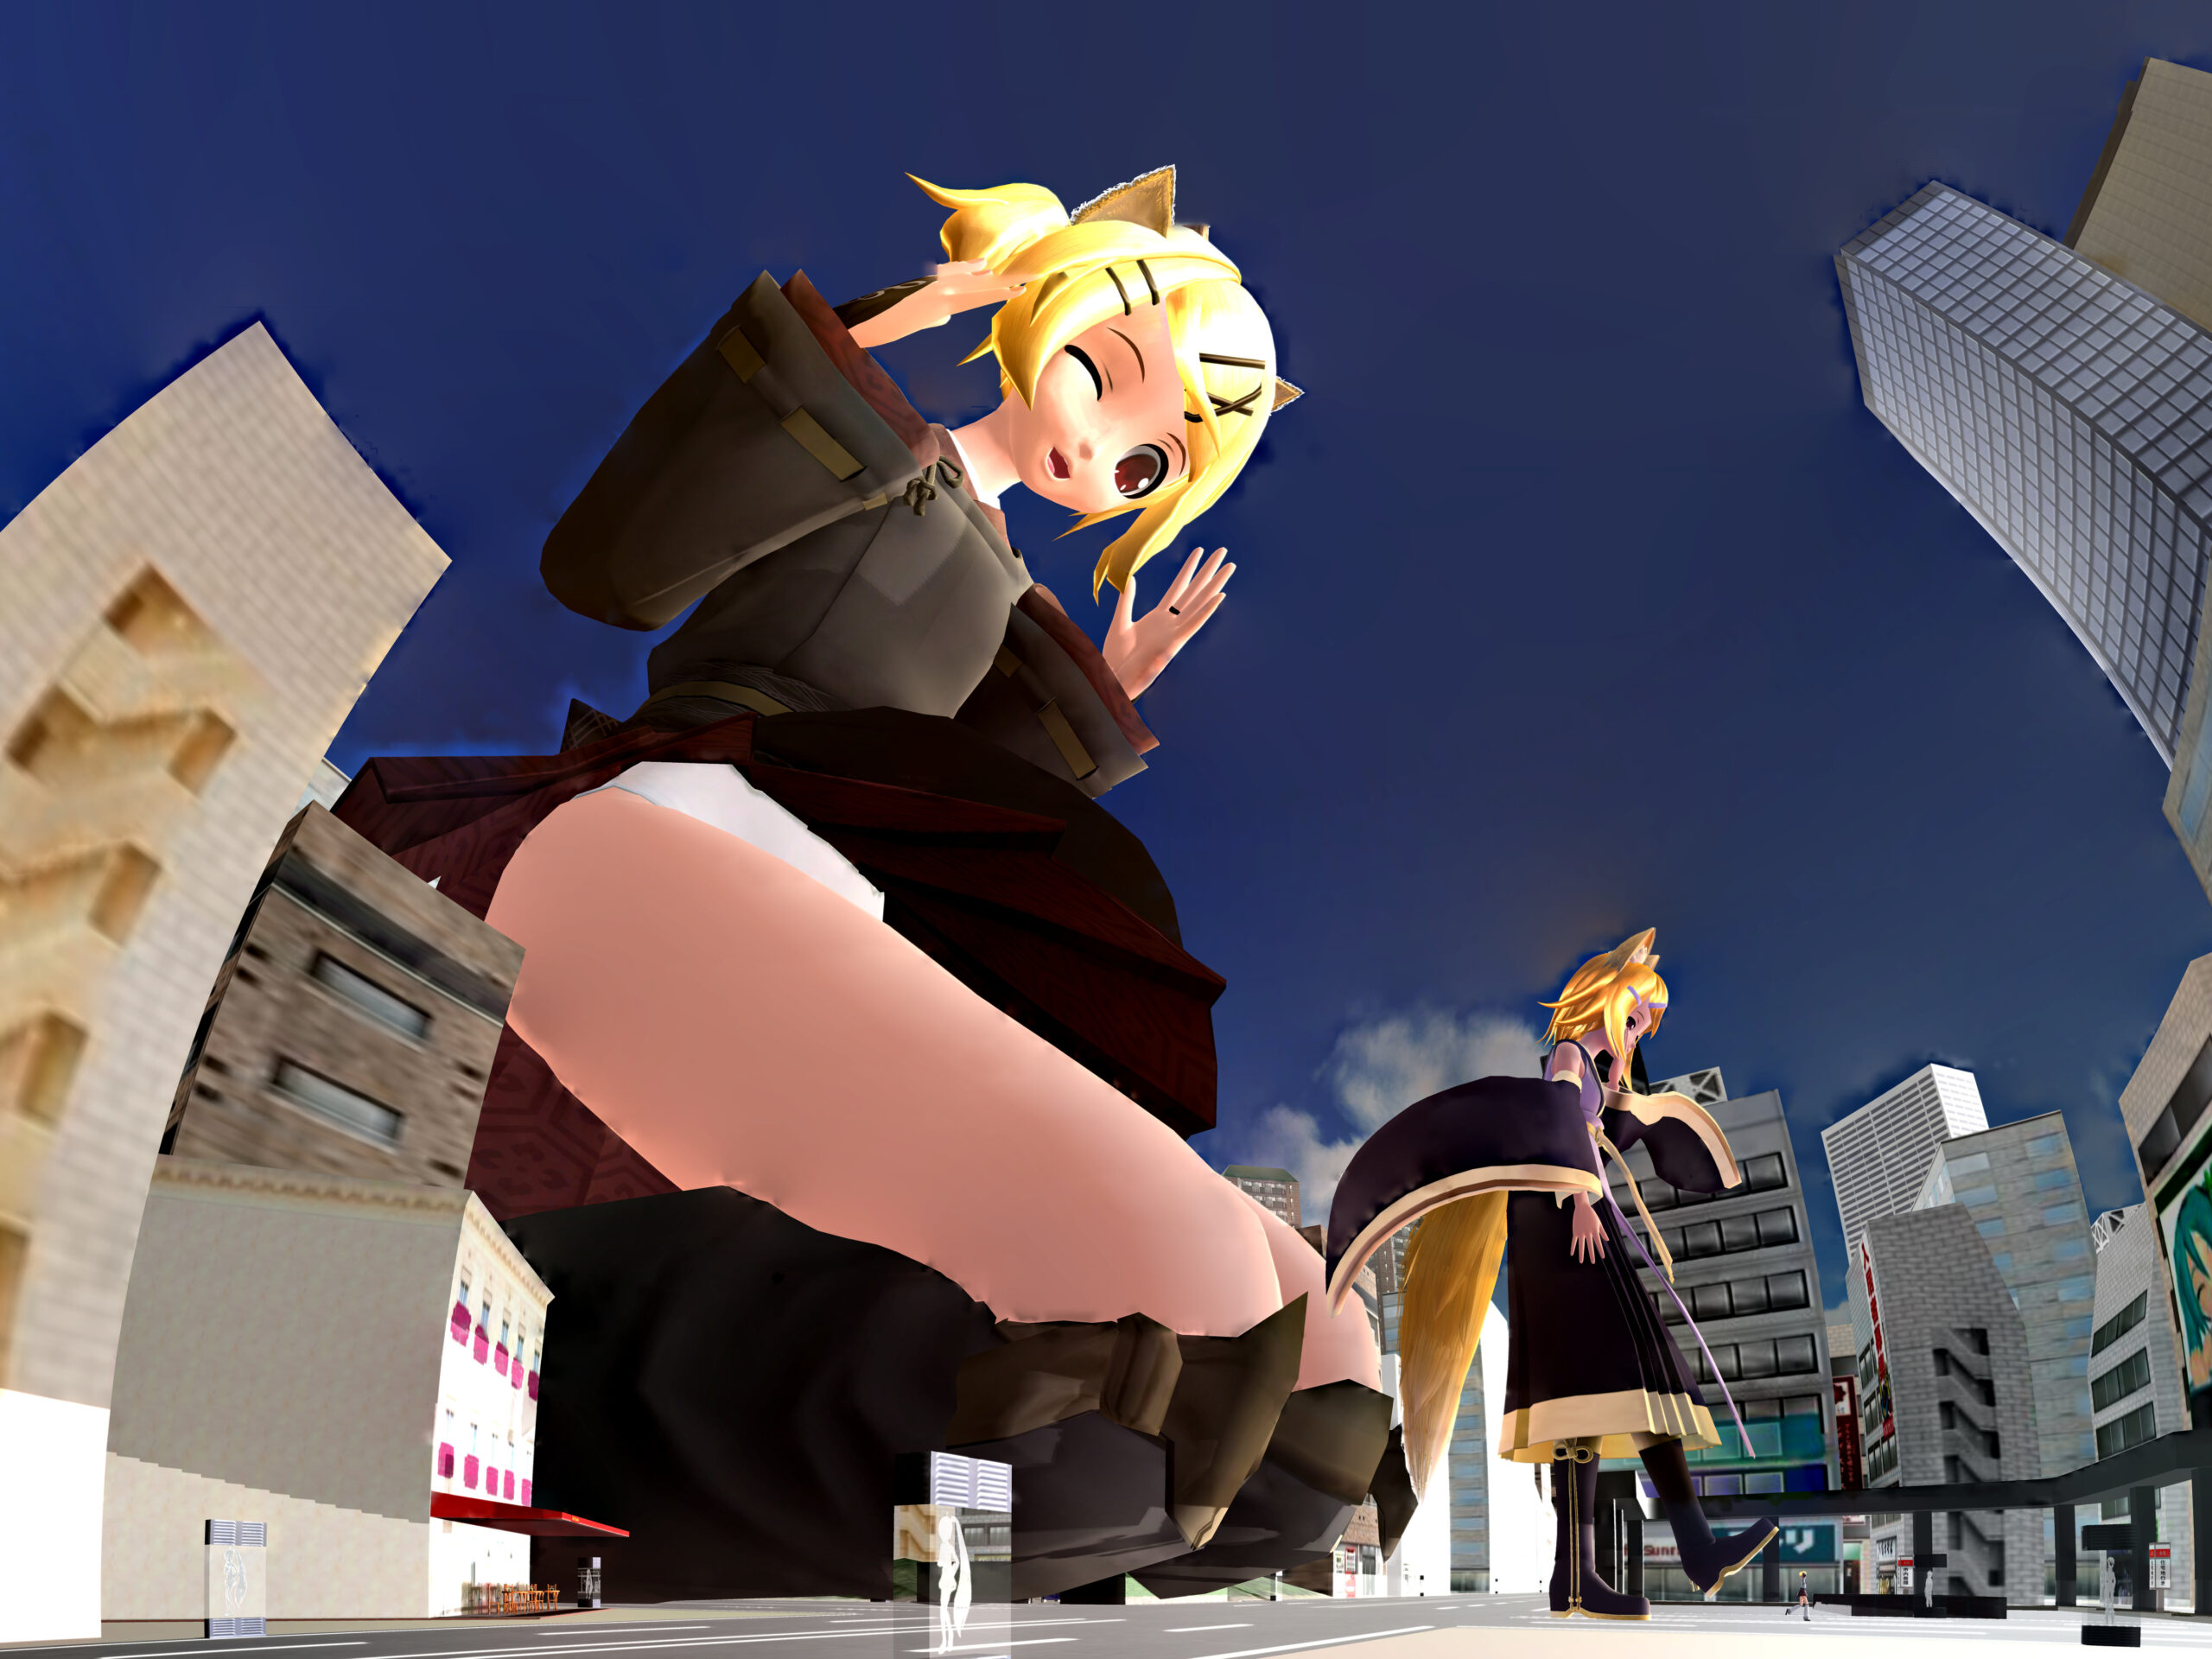
For example, adjusting the Z-axis position to get closer to the main view:
- Setting the center of rotation to the model you want the main view effect on might also work? But my everyday style is 3rd person view so I didn’t try it carefully.
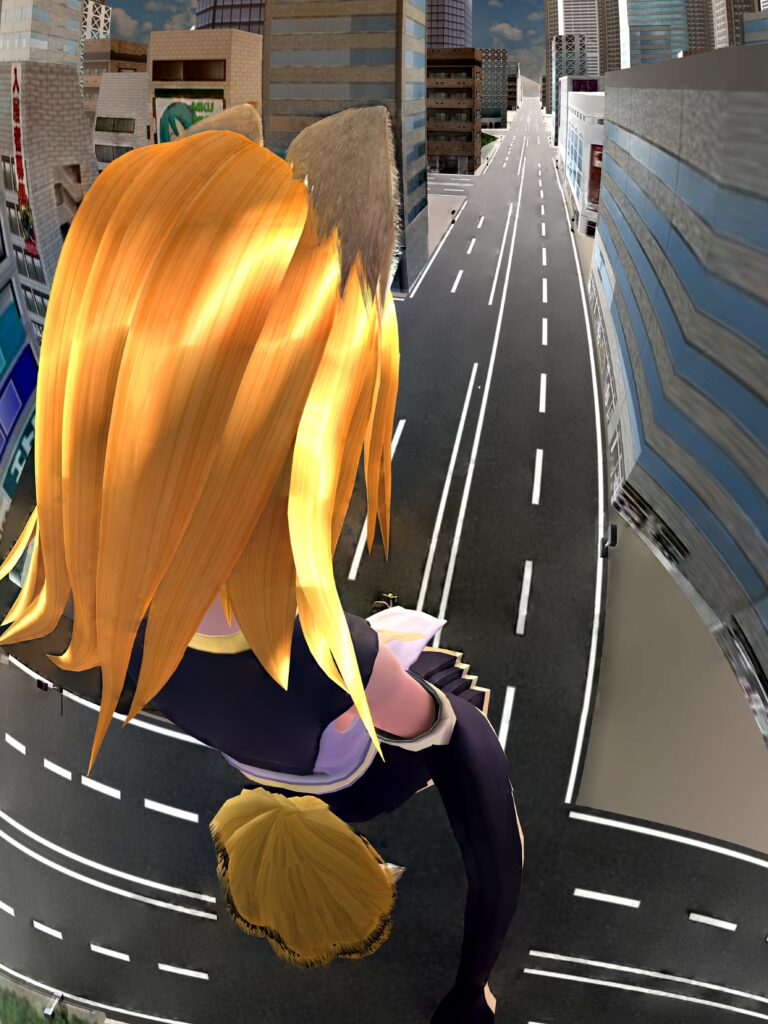
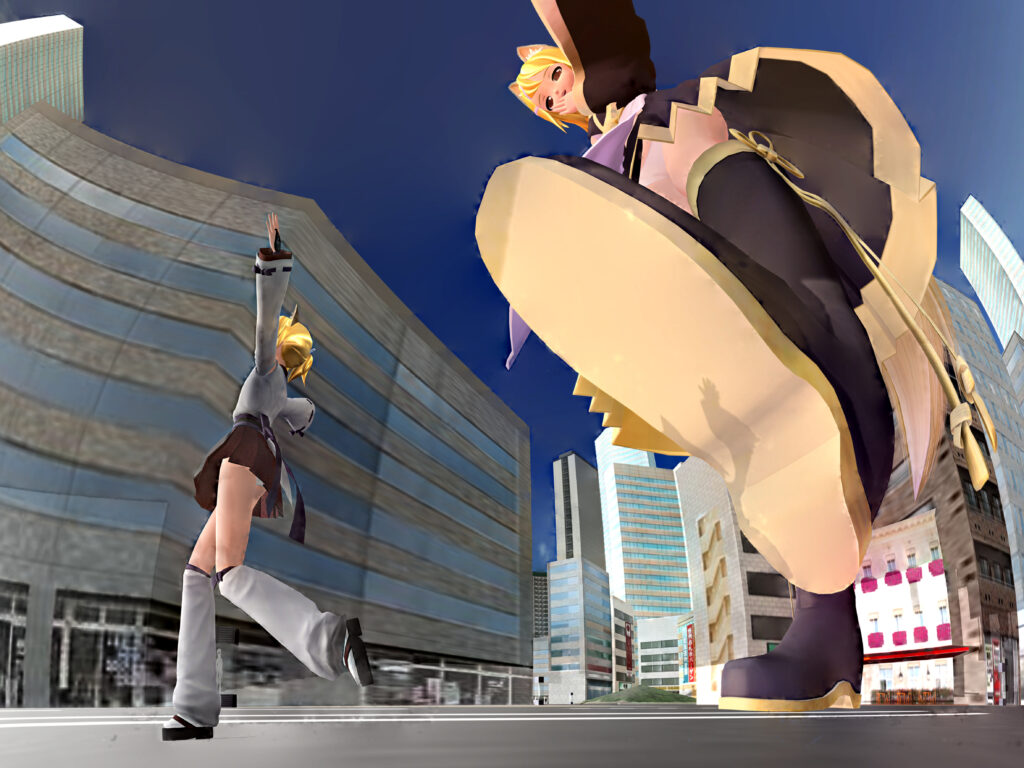
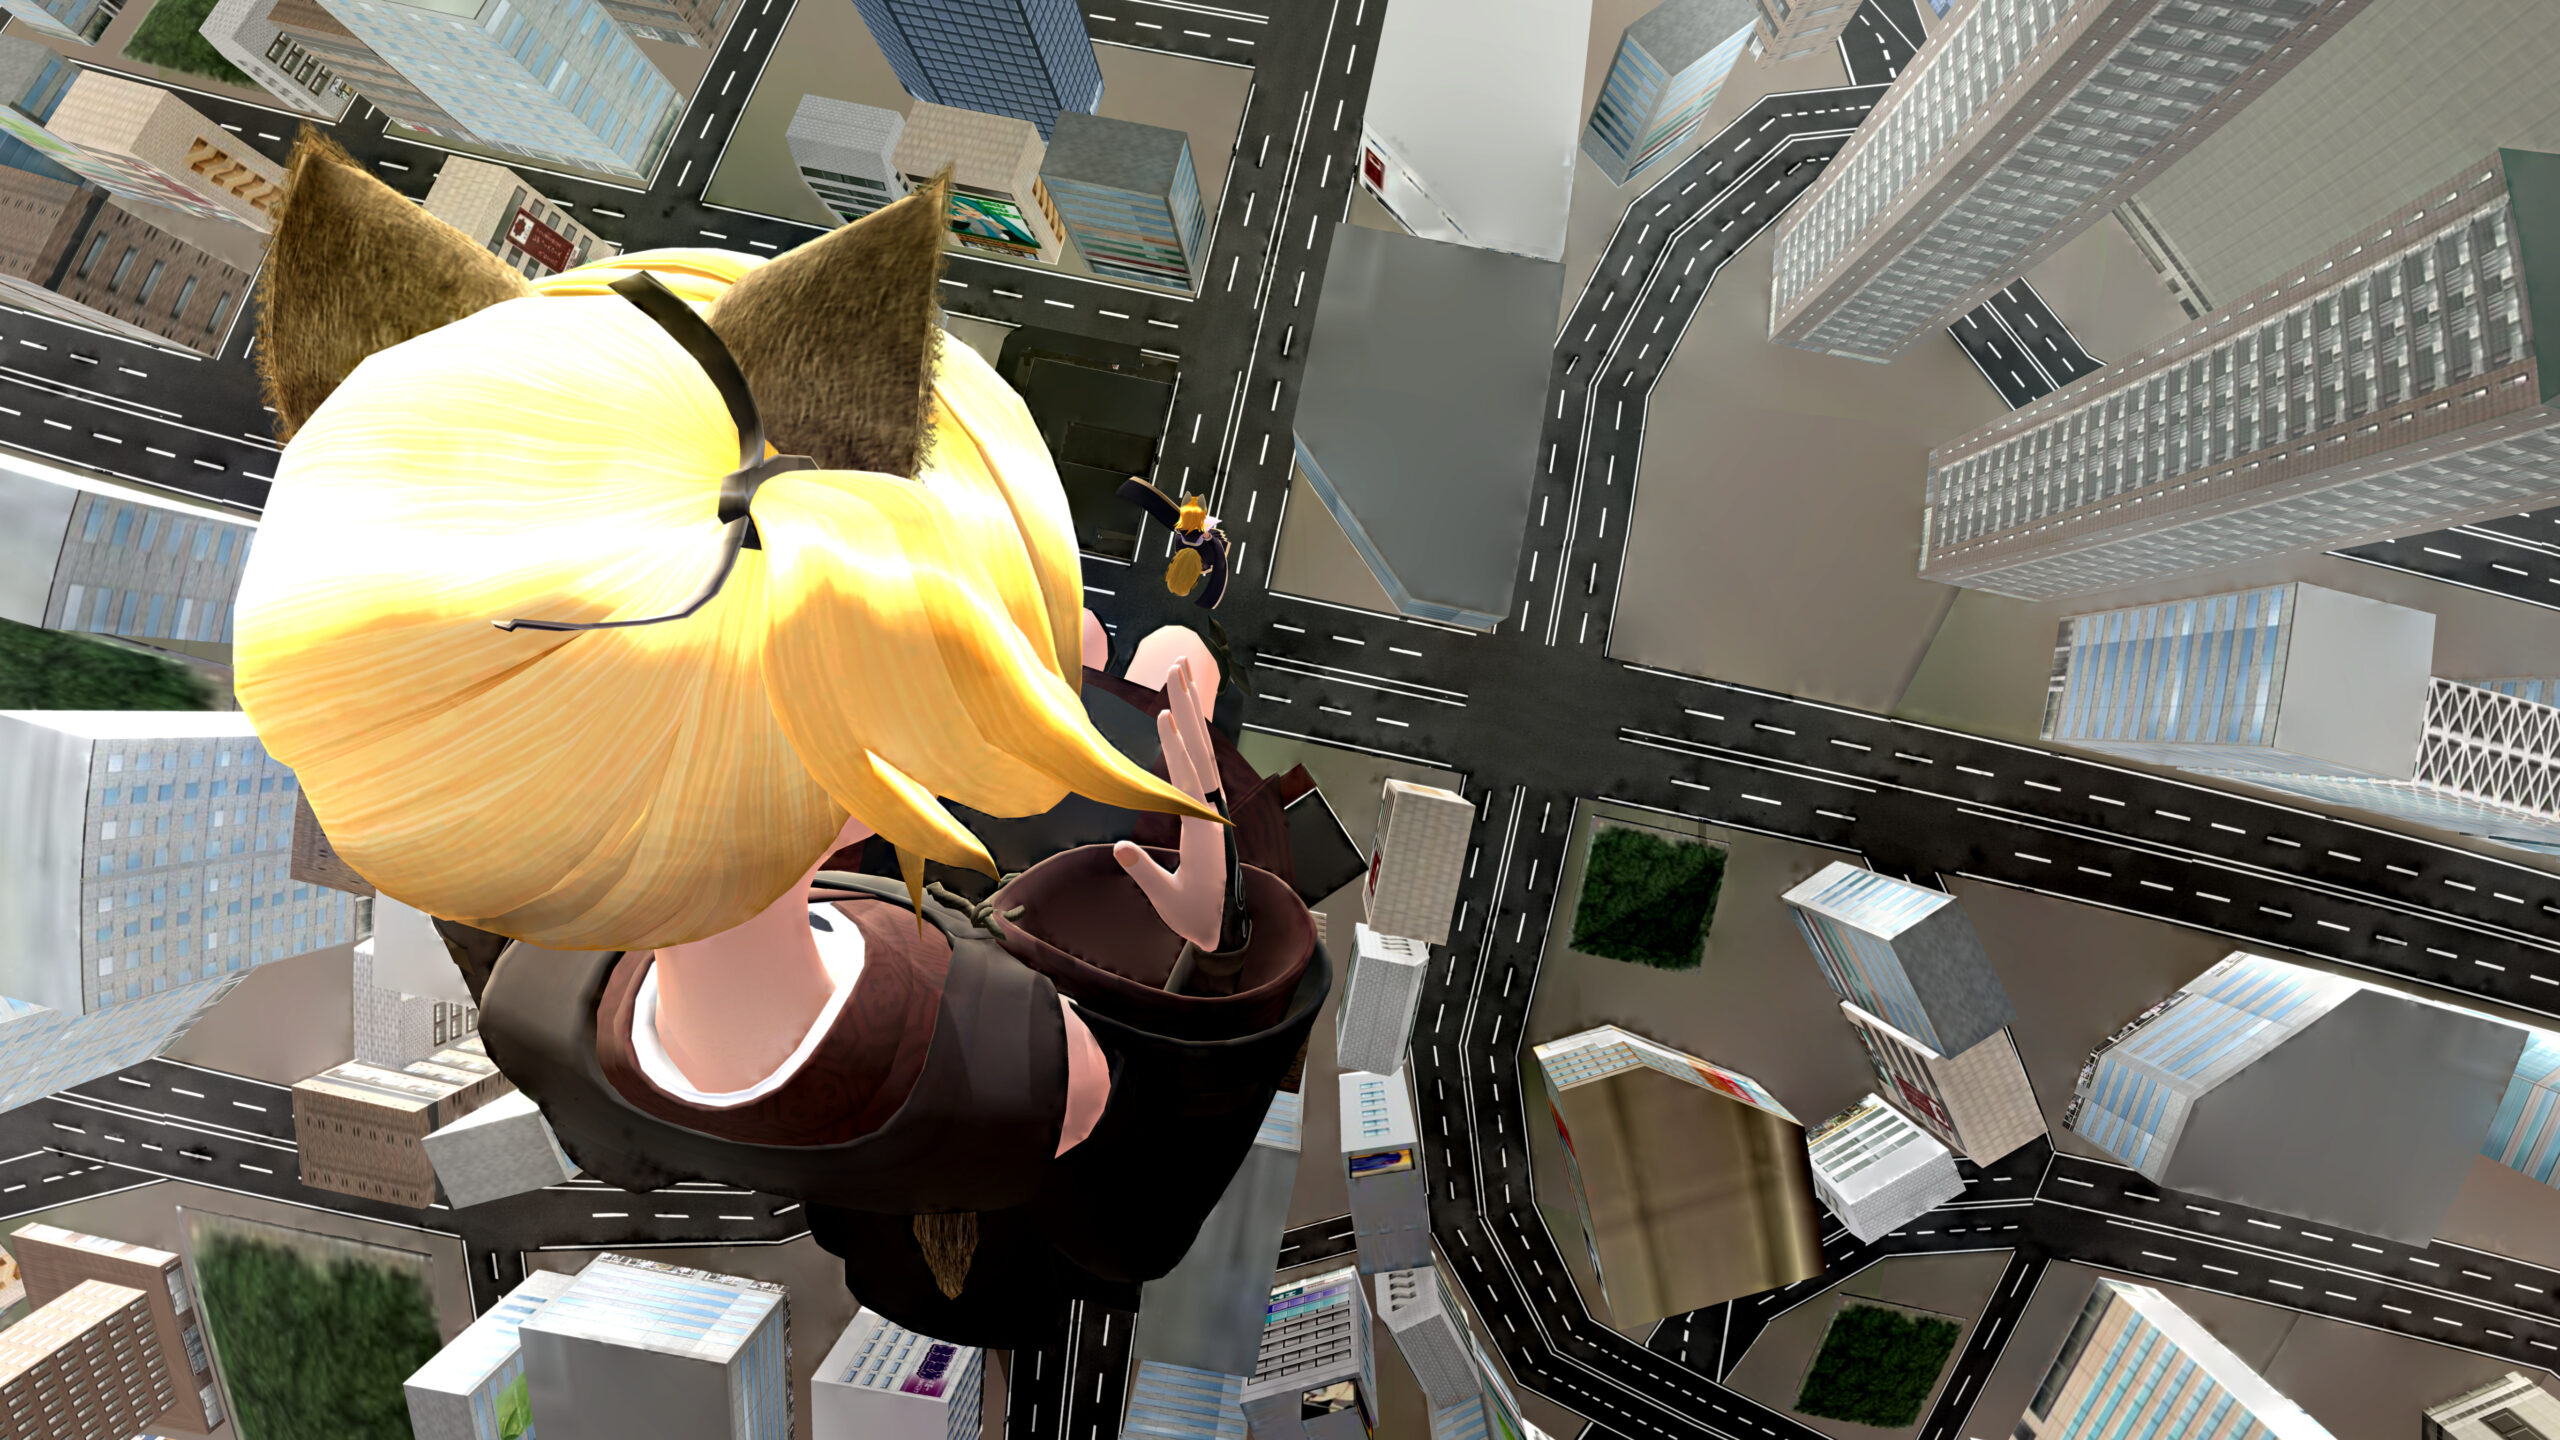
Or turn behind the character:
A side view might be nice too:
All in all it’s just a lot of freehand 🙃
Compositing Horizontal Wide View
The operation is similar to the vertical one, except that this time you have to rotate the Y-axis.
(Though this effect should be able to be synthesized in portrait, too, I think)
One More Thing
Sort of a composite question?
Leave a Reply